BridalLive can execute any tracking code that you'd like. Since Google Analytics is one of the more popular website analytics platforms, this article will show you how to track the submission of your BridalLive web forms using Google Analytics (GA).
Universal Analytics (UA) will be deprecated on July 1, 2023, which means it will stop processing data. Analytics 360 properties will stop working on October 1, 2023. Migrate to Google Analytics 4 and follow the instructions from Google or please reach out to your web developer for assistance.
There are 2 ways to track submissions of your web forms:
- Basic Setup - All web form submissions are tracked through 1 GA "event". This is most commonly used when you only care about how many times a form has been submitted.
- Advanced Setup - Webform submissions are tracked by their "source". This is most commonly used when you want to track the effectiveness of a marketing campaign. For instance, if you want to see how many appointments are booked through your Facebook Ads vs. Google Ads, you would use this method. Unless you have web programming skills, you will likely require the assistance of a web developer to accomplish this.
Basic Setup
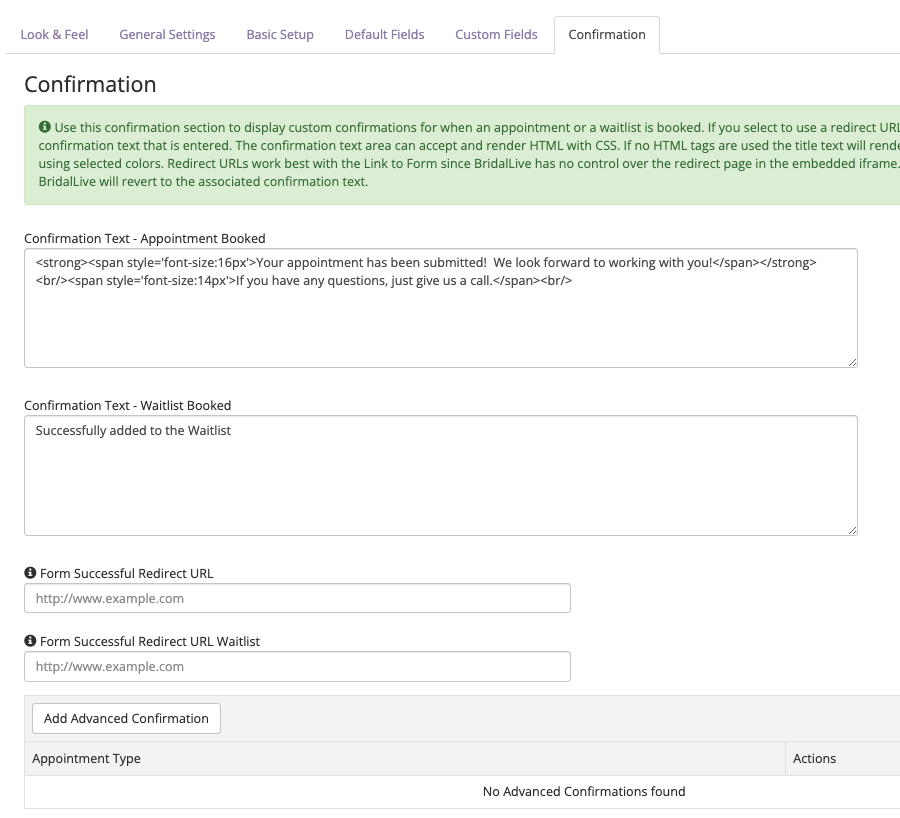
To accomplish the basic setup, you'll first want to create a Goal inside of Google Analytics and then copy/paste the tracking code for that Goal into the "Completion Text" or "Confirmation Text" box on the appropriate Web Form Settings screen inside of BridalLive.
Step 1: Create a Custom Goal inside of Google Analytics
When creating the Goal, select a Custom on step 1 and then Goal Type = Event on step 2. Then, on Step 3, enter the values as shown in the screenshot below. For more information on how to create a Goal in GA, see the following article: Create and Manage Goals

Step 2: Obtain the Analytics tracking code for your website
The next step is to obtain the Google Analytics tracking code for your website. Follow the instructions provided by Google here: Adding Analytics.js to Your Site. (Important: be sure to replace your site ID if you copy/paste the code below).
Next, test this code in to verify that you are seeing tracking events by copy/pasting the code to a test page on your website. An example of what this code might look like is below:
  <!-- Google Analytics -->
  <script>
  (function(i,s,o,g,r,a,m){i['GoogleAnalyticsObject']=r;i[r]=i[r]||function(){
  (i[r].q=i[r].q||[]).push(arguments)},i[r].l=1*new Date();a=s.createElement(o),
  m=s.getElementsByTagName(o)[0];a.async=1;a.src=g;m.parentNode.insertBefore(a,m)
  })(window,document,'script','https://www.google-analytics.com/analytics.js','ga');
  ga('create', 'UA-XXXXX-Y', 'auto');
  ga('send', 'event', 'appointments', 'submitted');
  </script>
Step 3: Add Tracking Code to BridalLive

Advanced Setup
This method is used when you'd like to track the website (or Ad Campaign) that the web visitor originated from. This method will likely require the assistance of a web developer.
Step 1: Create a Custom Goal(s) inside of Google Analytics
This method of integration works by creating several different goals and using those goals to track the submission of a web form. For instance, if you advertise on Google and Facebook, you may want to create 3 events. One for the standard appointment submission, one for Google Appointments, and another for Facebook Appointments.
Follow Step #1 in the Basic setup to create the appropriate events for your implementation.
Step 2: Obtain the Analytics tracking code for your website
Next, you'll want to obtain the tracking code for each event. It's likely that the only difference between the 3 tracking codes is the event name. Using our example, you'll likely have a different line of code that tracks standard submissions, Google submissions, and Facebook submissions. They might look like the examples below. Feel free to configure this however you like. The examples below are for illustrative purposes.
ga('send', 'event', 'appointments', 'submitted');
ga('send', 'event', 'appointments', 'submitted Google');
ga('send', 'event', 'appointments', 'submitted Facebook');
We will use this tracking code in Step 4. For now, just get the events created correctly. The words used after "submitted" will need to be something that you add to the URL in step #3.
Step 3: Add dynamic parameter to BridalLive iFrame
Here is where the 2 approaches really differ. In order for BridalLive to know which event to track, you must construct a URL to your landing page that contains an extra parameter and pass that parameter along to BridalLive's iFrame. For example, if your website for booking appointments is: https://www.mybridalshop.com/appointments, you would want to construct a URL that has the referring site on it https://www.mybridalshop.com/appointments?utm_source=Google and use this URL in the Ad setup within Google.
Once you have the URL created, your landing page needs to pull the 'utm_source' parameter (or whatever you'd like to call it) and pass it along to BridalLive through the iFrame URL like so:
<iframe src='https://app.bridallive.com/bl-server/appointmentScheduler/[YOUR RETAILER ID].shtml?lang=en&utm_source=Google' width='100%' height='790' frameborder='0'></iframe>
In order to accomplish this, your web page needs to have code added that pulls the utm_source value from the URL and then adds it to the BridalLive iFrame URL before it is loaded. This will require the assistance of a web developer.
Step 4: Add Dynamic Tracking code to BridalLive
The last step is to configure the BridalLive Completion/Confirmation Text to grab your custom parameter and use it to determine which GA event to trigger. Below you will find an example of this.
  <!-- Google Analytics -->
  <script>
  (function(i,s,o,g,r,a,m){i['GoogleAnalyticsObject']=r;i[r]=i[r]||function(){
  (i[r].q=i[r].q||[]).push(arguments)},i[r].l=1*new Date();a=s.createElement(o),
  m=s.getElementsByTagName(o)[0];a.async=1;a.src=g;m.parentNode.insertBefore(a,m)
  })(window,document,'script','https://www.google-analytics.com/analytics.js','ga');
  ga('create', 'UA-XXXXX-Y', 'auto');
  ga('send', 'event', 'appointments', 'submitted $!{params.utm_source}');
  </script>
*IMPORTANT*
Step 5: Specify SameSite Attribute for Cookies
Google is changing the way they handle cross-site third-party cookies. Cookies are intended for cross-site use if you present content with an iframe, like our appointment scheduler, and with the use of a pixel. The SameSite behavior will need to be explicitly indicated if you are intending to use them from a third party on your site.
This video from Google Support will further explain SameSite cookies and how Google is now handling them: https://www.youtube.com/watch?v=GPz7onXjP_4
If not explicitly indicated your cookie will default to SameSite=Lax, which prevents the cookie from being set in a cross-site context. To prevent this, the cookie must be set to SameSite=None and Secure if the cookie is intended to be set in cross-site contexts and only over an HTTPS connection. You will find an example of this below.
 <!-- Google Analytics -->
<script>
(function(i,s,o,g,r,a,m){i['GoogleAnalyticsObject']=r;i[r]=i[r]||function(){
(i[r].q=i[r].q||[]).push(arguments)},i[r].l=1*new Date();a=s.createElement(o),
m=s.getElementsByTagName(o)[0];a.async=1;a.src=g;m.parentNode.insertBefore(a,m)
})(window,document,'script','https://www.google-analytics.com/analytics.js','ga');
ga('create', 'UA-XXXXXXXX-Y', 'auto', {'cookieFlags': 'SameSite=None; Secure'});
ga('send', 'event', 'appointments', 'submitted');
</script>
If you use Google Analytics in addition to Google Ads, you may have to make further modifications to your Global site tag.
Please note, the troubleshooting and implementation of Google Analytics and stating cross-site cookie behavior are not covered within the scope of BridalLive support. We recommend resources such as Google for Developers for more information! Cookies and User Identification
BridalLive Help Guide Website https://www.bridallive.com/webform-help.html