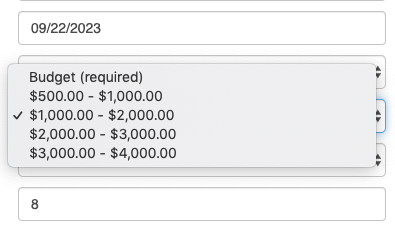
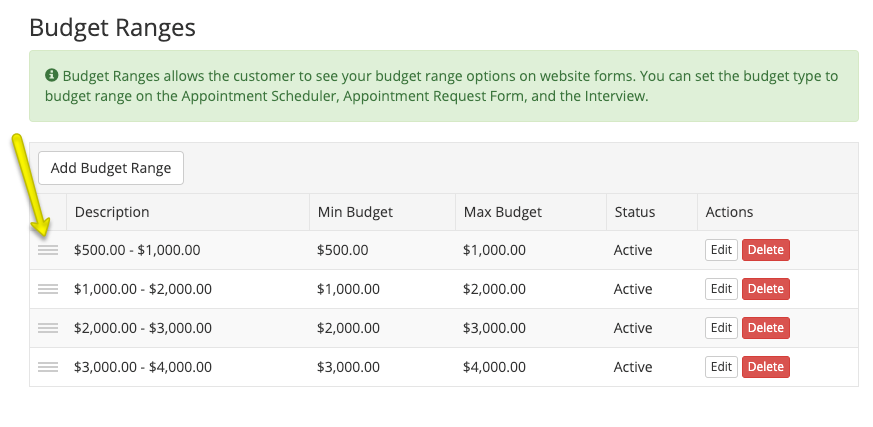
Budget Ranges allow the customer to see your budget range options on website forms. You can set the budget type to budget range on the Appointment Scheduler, Appointment Request Form, and the Interview.
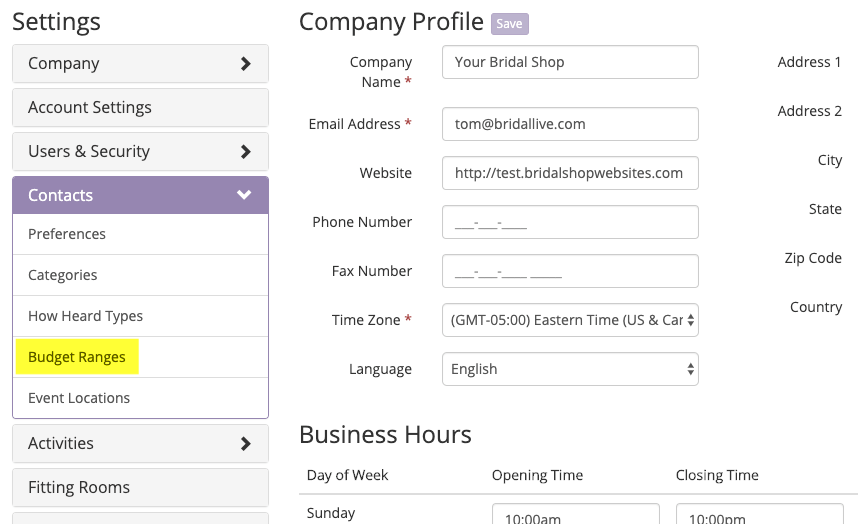
Access Budget Ranges:
Navigate to Settings > Contacts > Budget Ranges...
...then select Add Budget Range
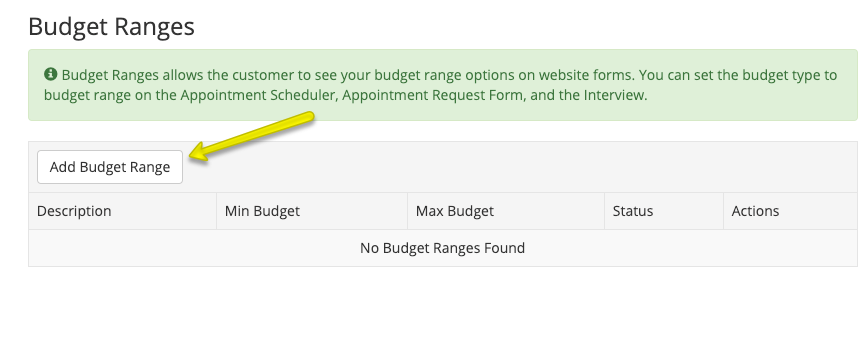
Add New Budget Range:
- Select the desired separator for your budget range.
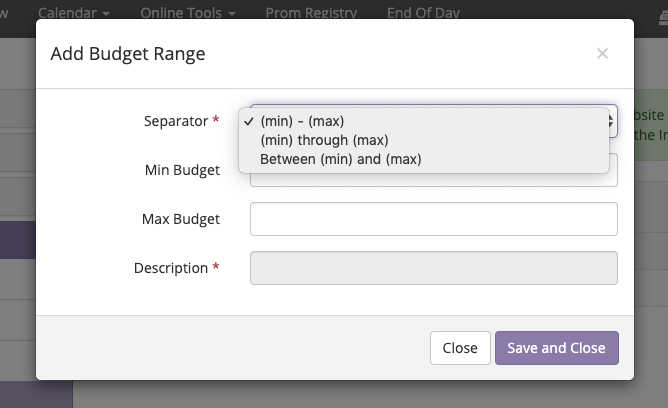
- Min Budget - Enter the minimum budget for this budget range
- Max Budget - Enter the maximum budget for this budget range
- Description - This will show what your options above will look like when displayed
- Save and Close when you are happy with your budget range
- Add a new budget range to complete your list of budget ranges you would like to display to your customers
You can use the three horizontal lines to re-sort your budget ranges if needed.
Use Budget Ranges on Website Forms:
You can locate all of the website forms we are going to discuss by going to Settings > Website Forms > then you will select the website form you would like to update. The budget ranges can be used on the Appointment Scheduler, Appointment Request Form, and the Interview Form.
- Select website form to update from Settings > Website Forms
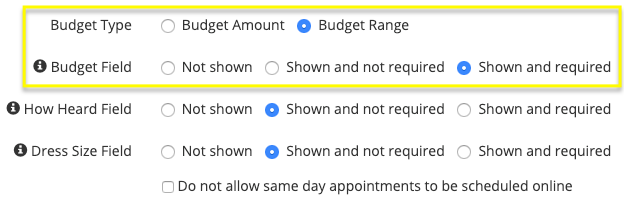
- Set Budget Type to Budget Range
- Set Budget Field to either Not Shown, Shown and not required, or Shown and required
- Save the website form at the top of the page
Example of budget ranges on Appointment Scheduler:
