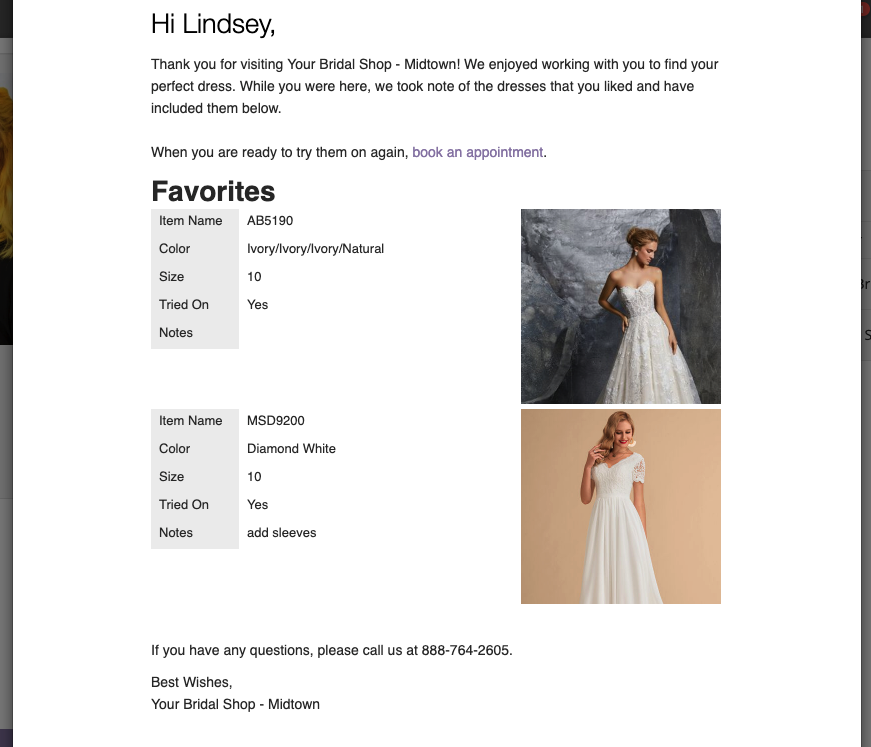
This article will walk you through how you can send an email with one or all of your customers' favorites including images and Item Information about the item! The first section of this email template will walk you through how to create a new HTML email template, copy and paste our standard Favorites email template from the help center and update the book an appointment link. The second section of this article will walk you through the steps of sending the Favorites email.
If you would like to watch the video on how to do the below, you can view that here - Email Contact's Favorites - Video
Create a new Email Template:
- Navigate to your Email Templates page in BridalLive
- Go to More Actions > Add Template
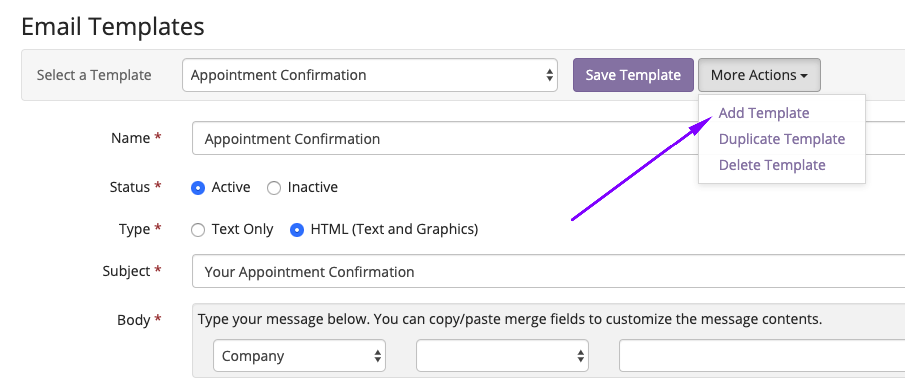
- Give your template a Name
- Email template Status will need to be Active when you are ready to send the template but can be Inactive until then if you prefer
- Email template Type will need to be HTML (Text and Graphics)
- Give your template a Subject
- Click Save Template at the top
Add BridalLive HTML into new template:
- Scroll to the Body section of your new HTML template
- Click the Source Code icon that looks like this <>
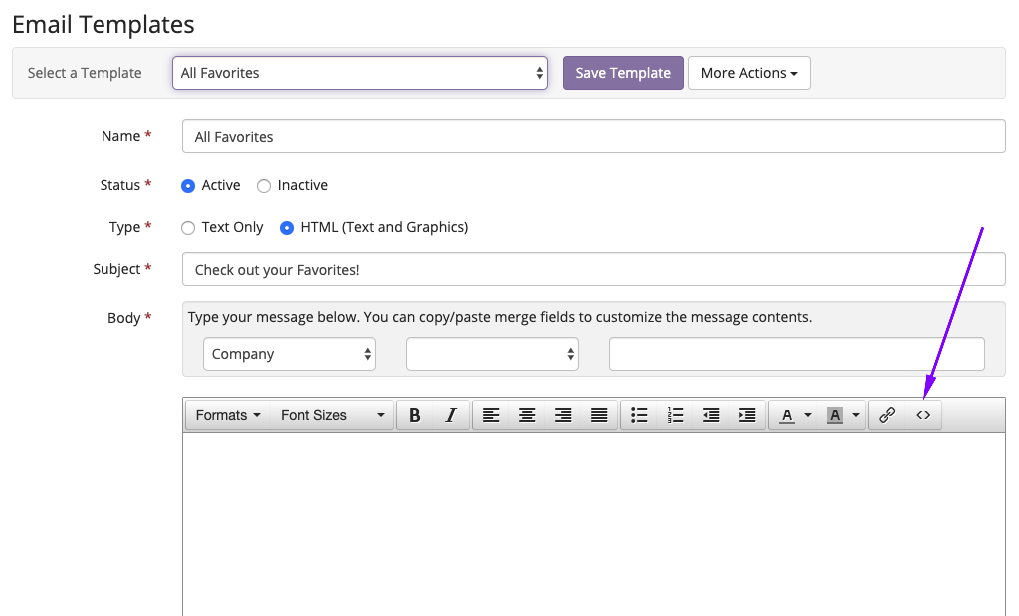
- This will open a blank pop-up window
- Navigate to BridalLive Templates and click on the Favorites link under the Email Templates section
- This will open the full HTML of the email template! Do not worry! All you need to do is copy and paste here. Put your cursor before the very first character you see on the page and drag your mouse to the end of the very last character. All of your HTML should be highlighted. Right-click your mouse with the selection still highlighted and click Copy.
- Navigate back to your BridalLive tab, right-click inside the Source Code pop-up window and click Paste
- Click Ok on the Source Code pop-up window and Save Template at the top
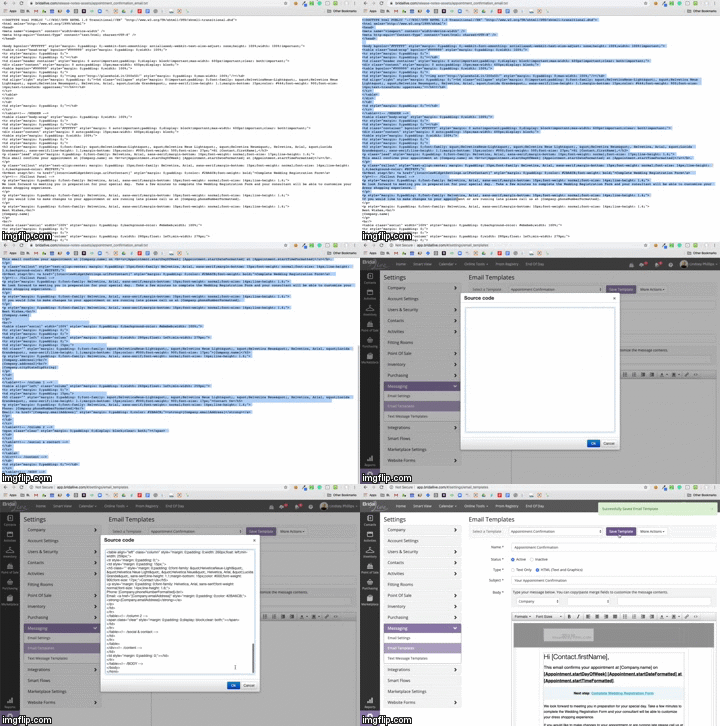
- You can update any of the wording from the email template. Any of the merge keys (words in brackets), you do not need to worry about updating. BridalLive will do this for you!
Update Book Appointment Link:
- By default, the book an appointment link will direct the customer to the website listed on your Company Profile page.
- If you would like to update this URL to link directly to your book an appointment page, highlight the words 'book an appointment' on your email template.
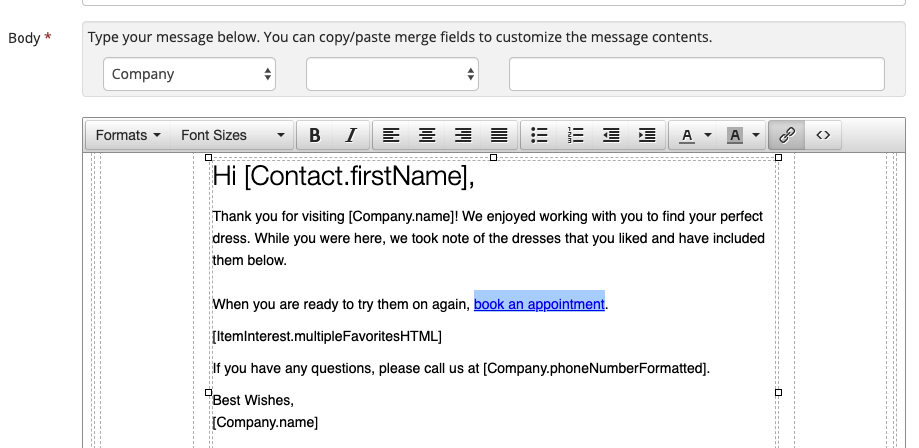
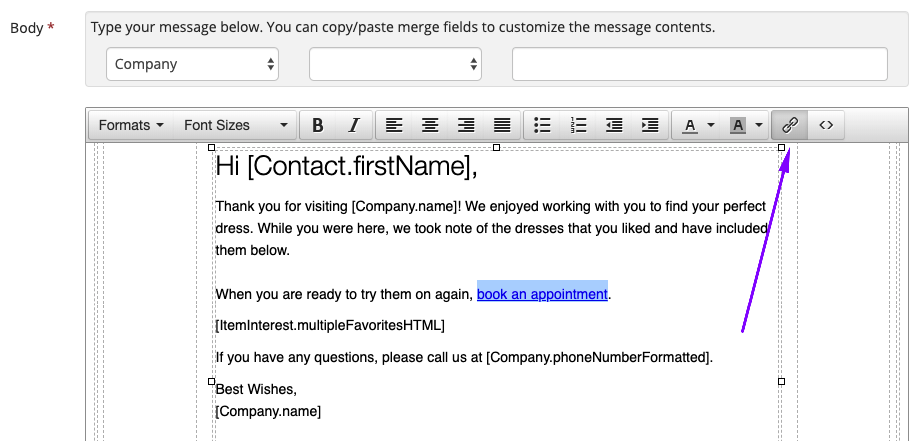
- Click the link icon
- Update the URL to your booking page on your website (or any other link you would like this to be).
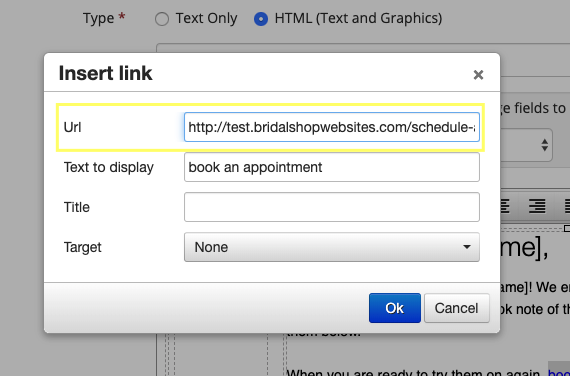
IMPORTANT! - If you change your booking URL on your website, you will need to update the URL in your email template as well. - Hit Ok on your Insert Link pop-up and click Save Template
Send Favorites email to Contact:
- Open Contact
- Go to Contact's Favorites

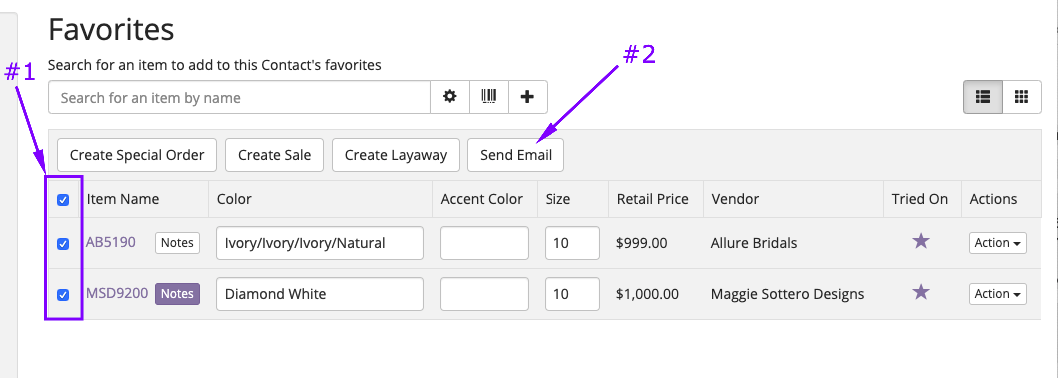
- Select the checkbox to the left of the items you would like to send in your Favorites email
- Click Send Email
- Select your Favorites Email Template from the dropdown
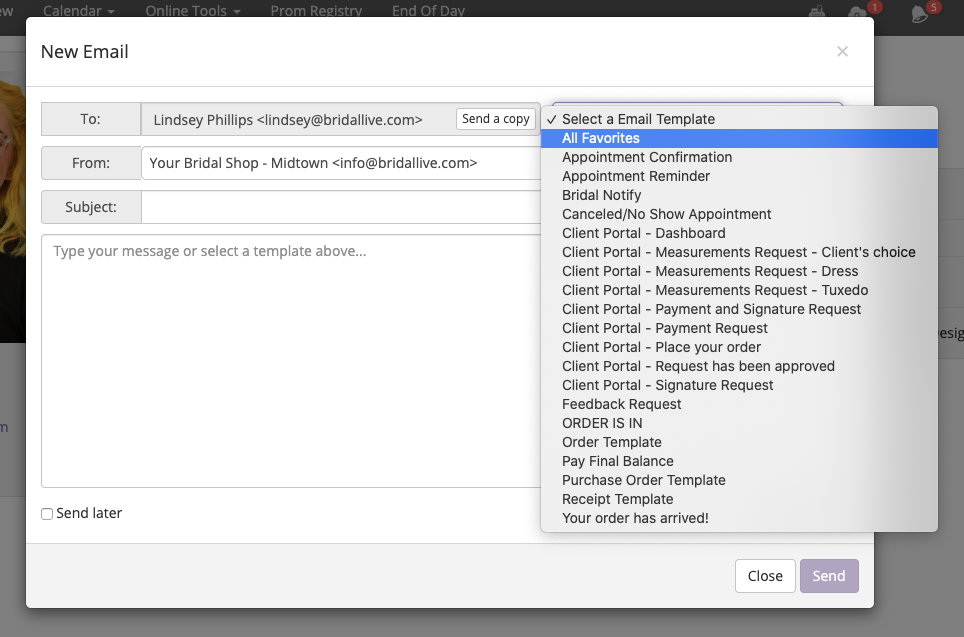
- Your Favorites email template will be populated with your wording and merge keys!
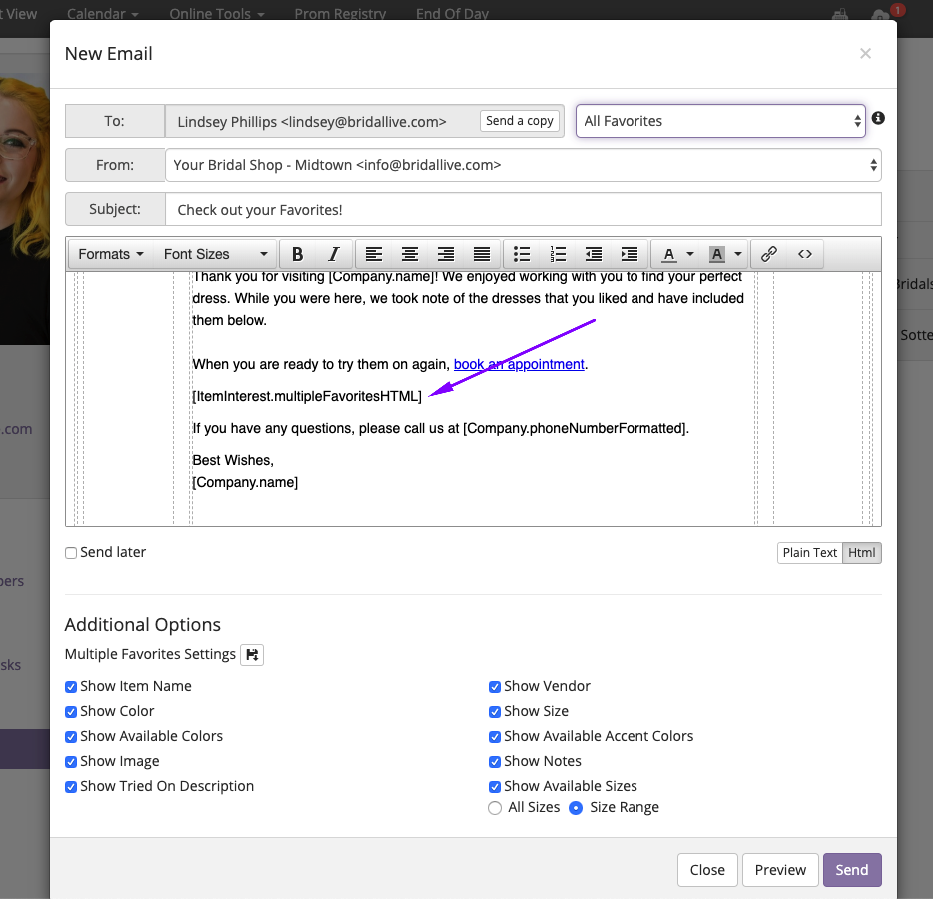
- You can update any of the Additional Options at the bottom of the page to select what options you want to show on your email template sent to your Contact. You can also save this for future use!
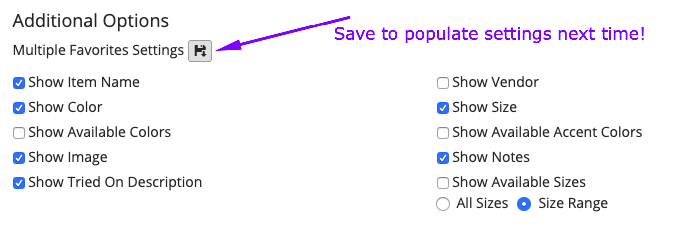
* This option can be restricted in the User Roles under Contacts
- Once you have all of your options updated, you can either click Preview to see what your email will look like with all of your merge keys populated (exactly how the bride will see it), or you can click Send. After you Preview your email and like the way it looks, click Send!
