The first step towards utilizing the Registers feature in BridalLive is to setup your Registers. In this article, we'll review the concept of a Register and then we'll walk through the process of adding and "setting" the register.
What is a Register?
A Register is the physical location where you take payments from customers. This typically consists of a computer, monitor, credit card terminal, cash drawer and receipt printer. However, it can also simply be an iPad or a stand alone computer. For example, you might have Registers named: Front Desk 1, Front Desk 2, Back Office, Consultant 1 iPad, etc. In BridalLive, you'll want to create a Register for each location where payments are taken.
Adding a Register
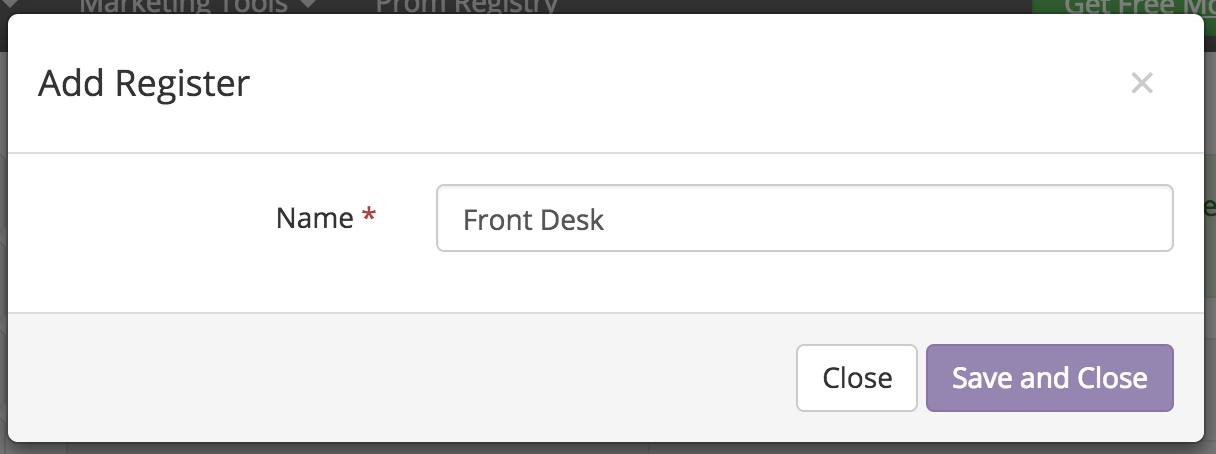
To add a register, navigate to Settings Point of Sale Registers and click the "Add Register" button. Give the register a name and choose "Save and Close" (shown below). You will want to perform this for all of the Registers in the store.

Setting a Register to your device
Once you've added all of the Registers for your store, you'll need to "Set" the register to the device. This binds they physical hardware to the Register in BridalLive. After this is done, you'll be able to Open and Close the Register.
On each device, click the Register icon at the top right corner of BridalLive and choose "Setup Register". This will take you to the Registers screen where you can click "Set Register" to bind the Register to your hardware device.

To confirm that your Register is set correctly, click the Register icon at the top right corner of BridalLive and review the "Current Register".
IMPORTANT NOTE: BridalLive stores your "Current Register" setting in the browser's cache. If you change browsers, you will need to Set the Register on the new browser.
Deleting a Register
If you remove a register from your store, you may delete the Register without losing it's history. To do so, navigate to Settings Point of Sale Registers and click the "Delete" button next to the Register you'd like to delete.

If the Register is currently Open, you must first close it before deleting.