Now that you have your Digital Signature feature setup, you can start having your customers sign their Sales Agreements inside of BridalLive. Navigate to one of the transaction types you set up to require a digital signature, you will now see a red “Sign” button at the bottom of the transaction. To have your customer sign the Sales Agreement, select the red Sign button and select Sales Agreement. The red X indicates that the Sales Agreement has not yet been signed.

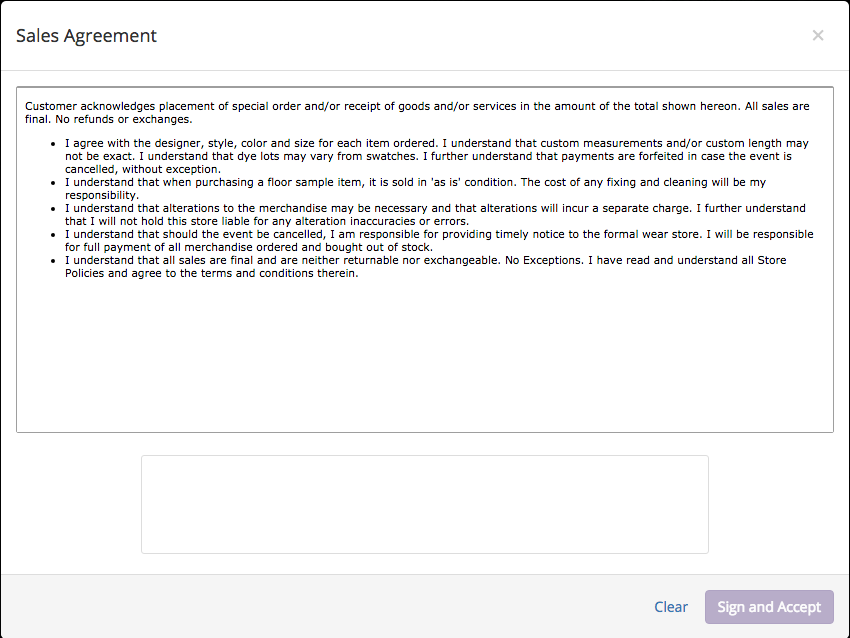
You will now be shown the Sales Agreement with the Digital Signature feature below. If you would like to edit your Sales Agreement, follow this guide.

Once you hit Sign and Accept, the Sign button on the transaction will turn green with a check mark next to Sales Agreement.

Updating Digital Signatures:
The permission to update the digital signature on the Sales Agreement can be toggled on/off in the User Roles section of the program. Settings Users & Security User Roles Select edit next to the role you would like to change, scroll to Point of Sale Update Digital Signatures.
Setup Digital Signature
Use Digital Signature to Sign Payments
Use Digital Signature to Sign Pickup Slips