The MX925 terminal requires an ethernet connection. If you do not have an ethernet port available where you want to have your MX925 terminal, you can use the Netgear WiFi Range Extender as your ethernet port. You will only need a regular electrical outlet to plug the extender into.
AC750 WiFi Range Extender - Model EX3700
NETGEAR WiFi Range Extender Setup
- Place your extender in the same room as your WiFi router. (The extender will only need to be near the router for initial setup.)
- Plug the extender into an electrical outlet. Wait for the Power LED light to turn solid green. (If the Power LED does not turn solid green, press the Power On/Off button on the side of the extender.)
- Open the network manager area on your computer to select a WiFi network.
- Connect to the WiFi named NETGEAR_EXT.
- After the connection with the computer is established, the Device Link LED will be green.

- Open your web browser (Google Chrome, Safari, Internet Explorer, etc.)
- Navigate to http://www.mywifiext.net in the address field of your browser.
- Click the NEW EXTENDER SETUP button.
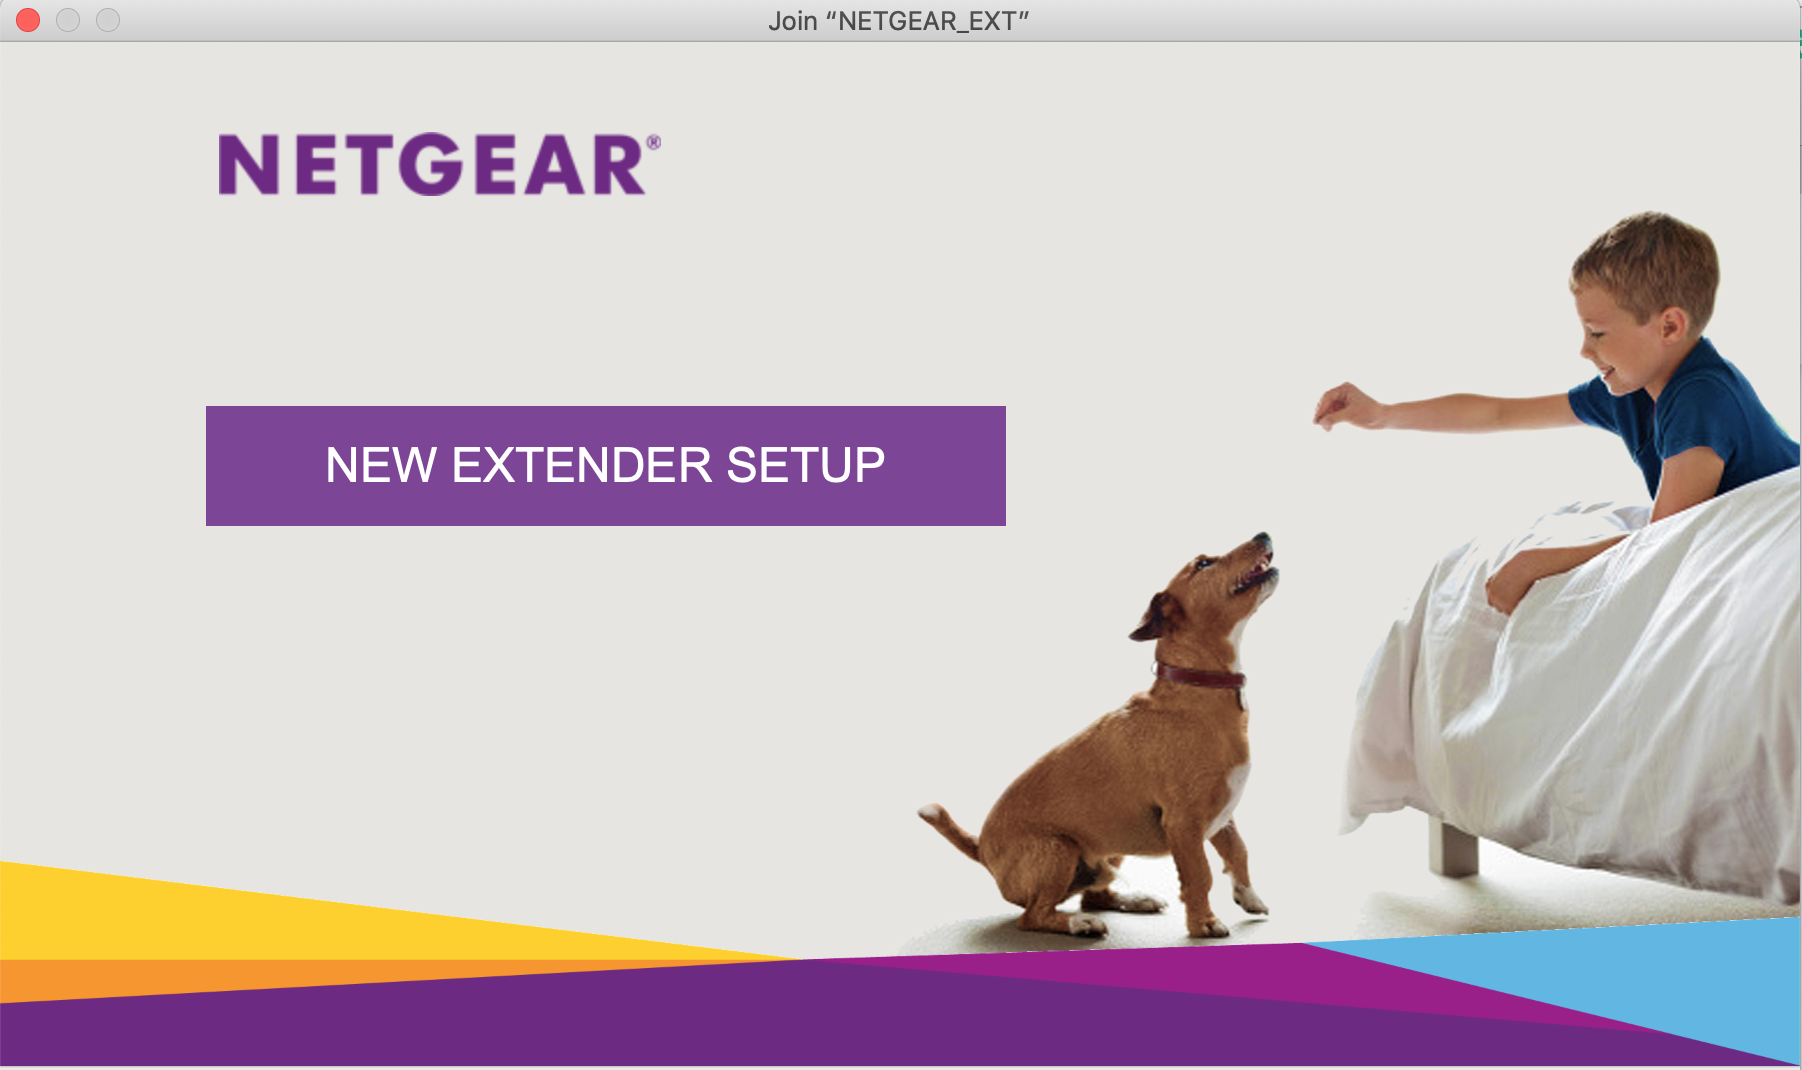
- Complete the fields on the Extender Setup screen and click the Next button
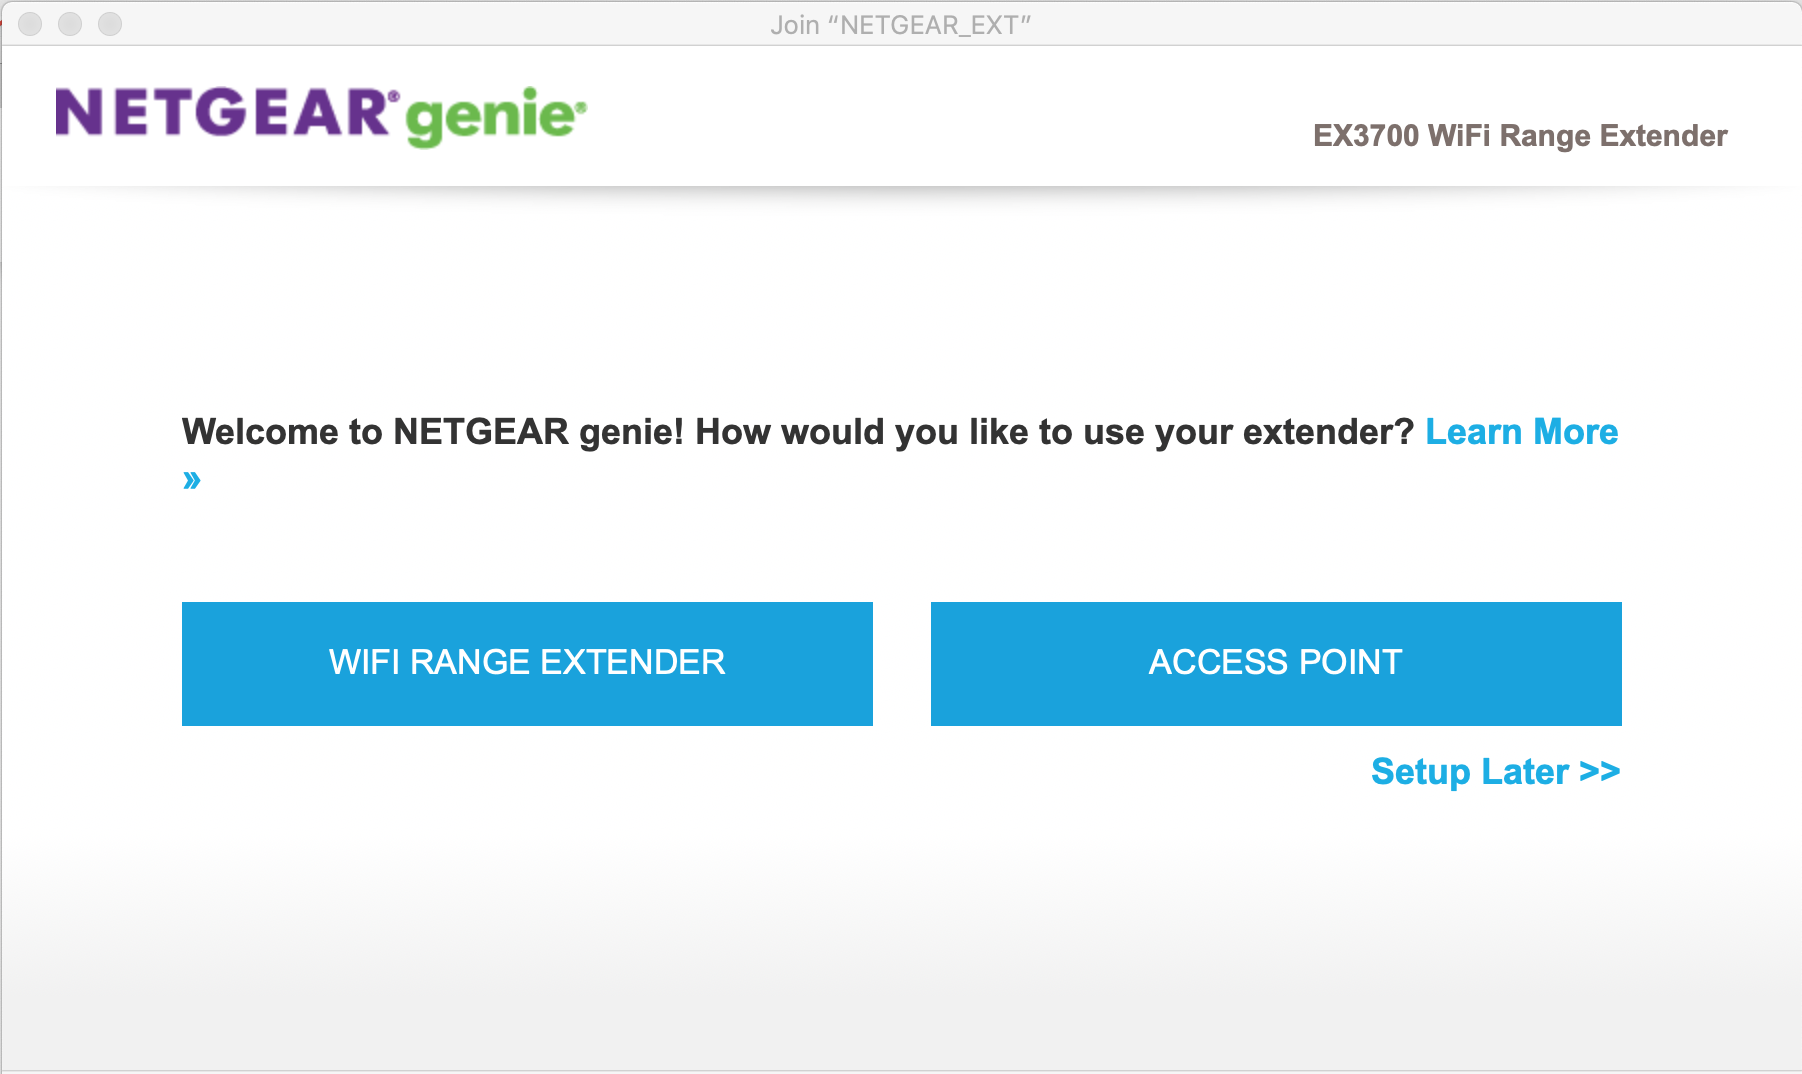
- Click the WIFI RANGE EXTENDER button. The extender searches for WiFi networks in your area and displays a list of available networks.
- Go back to the network manager area on your computer to select a WiFi network. Connect to your WiFi name that has EXT on the end and click NEXT. (If you have a 2.4ghz and 5ghz WiFi bands, you will see both in your list. Just select either one.)
Example:
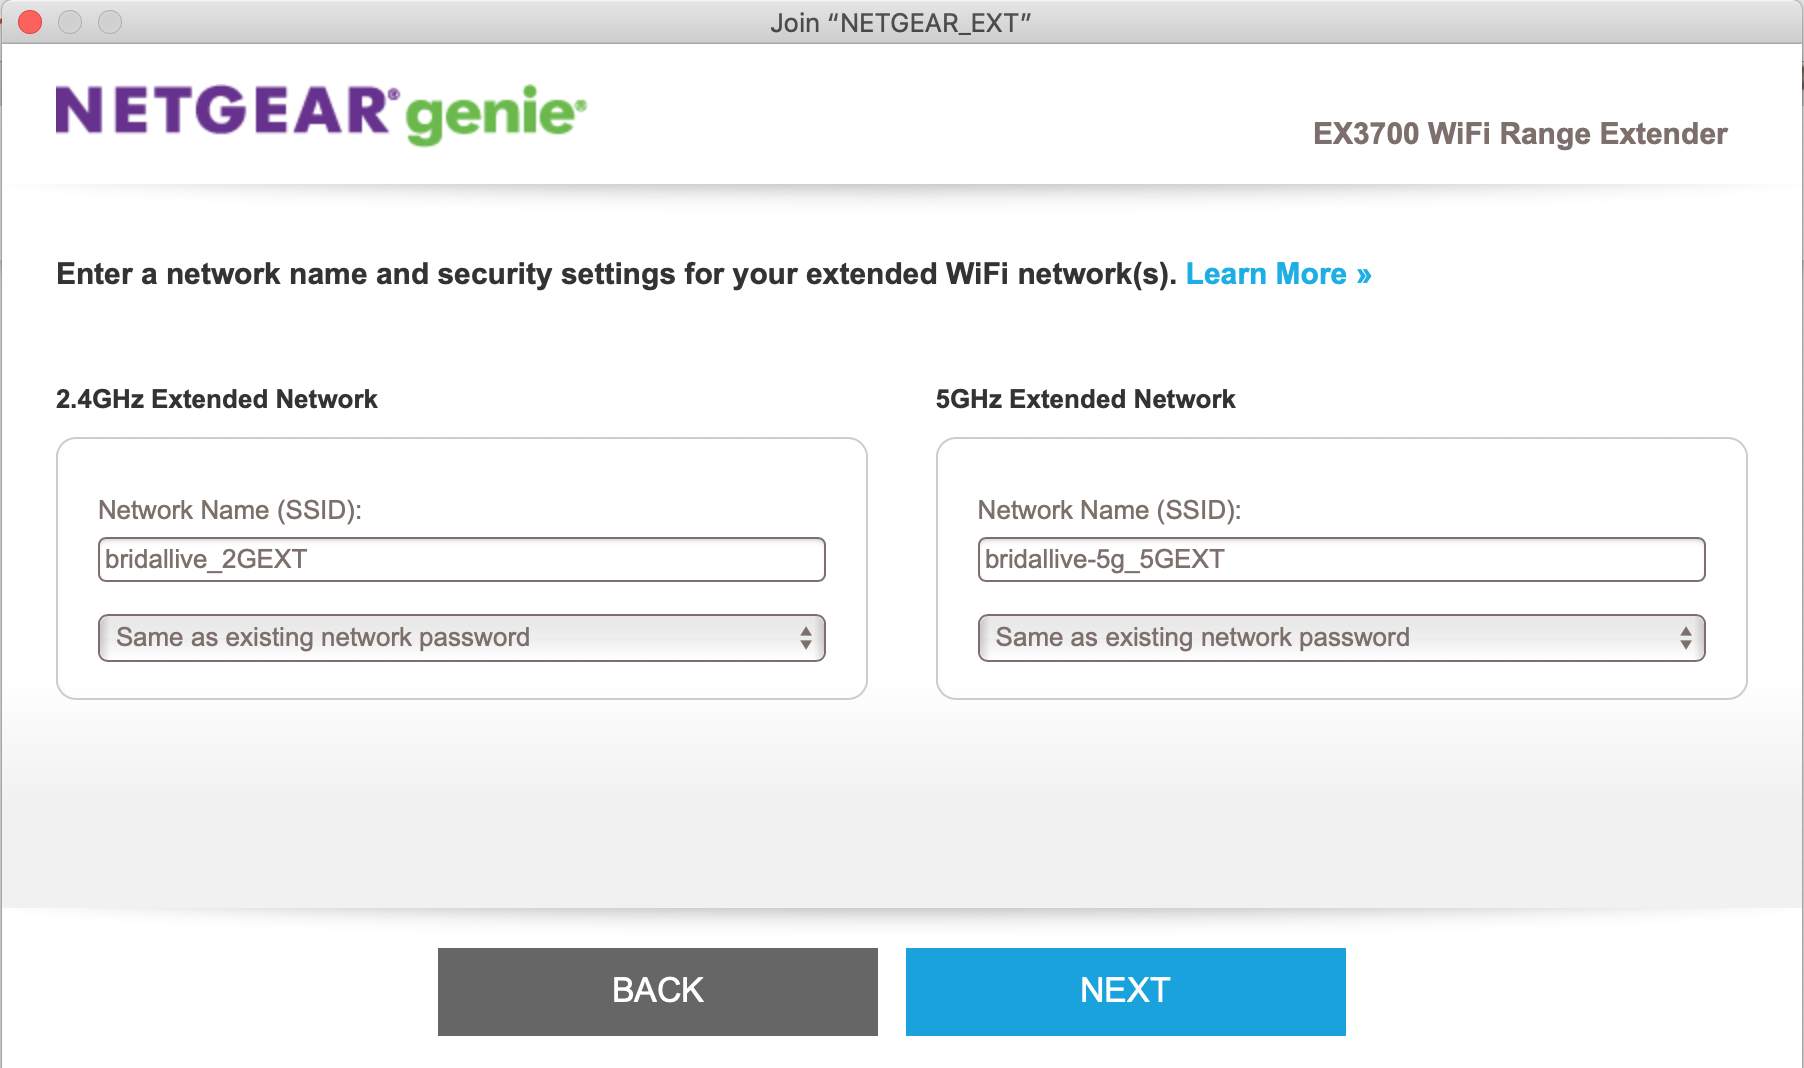
Existing WiFi network name: bridallive
New extended WiFi network names: bridallive_2GEXT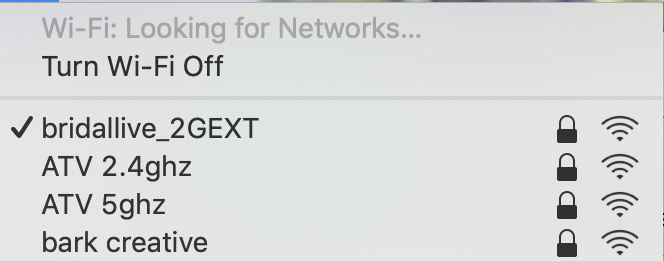
- Select your WiFi networks from the NETGEAR genie setup. If you have multiple WiFi bands and do not want to extend both, simply uncheck next to the name for the one you do not want to extend. Hit NEXT.
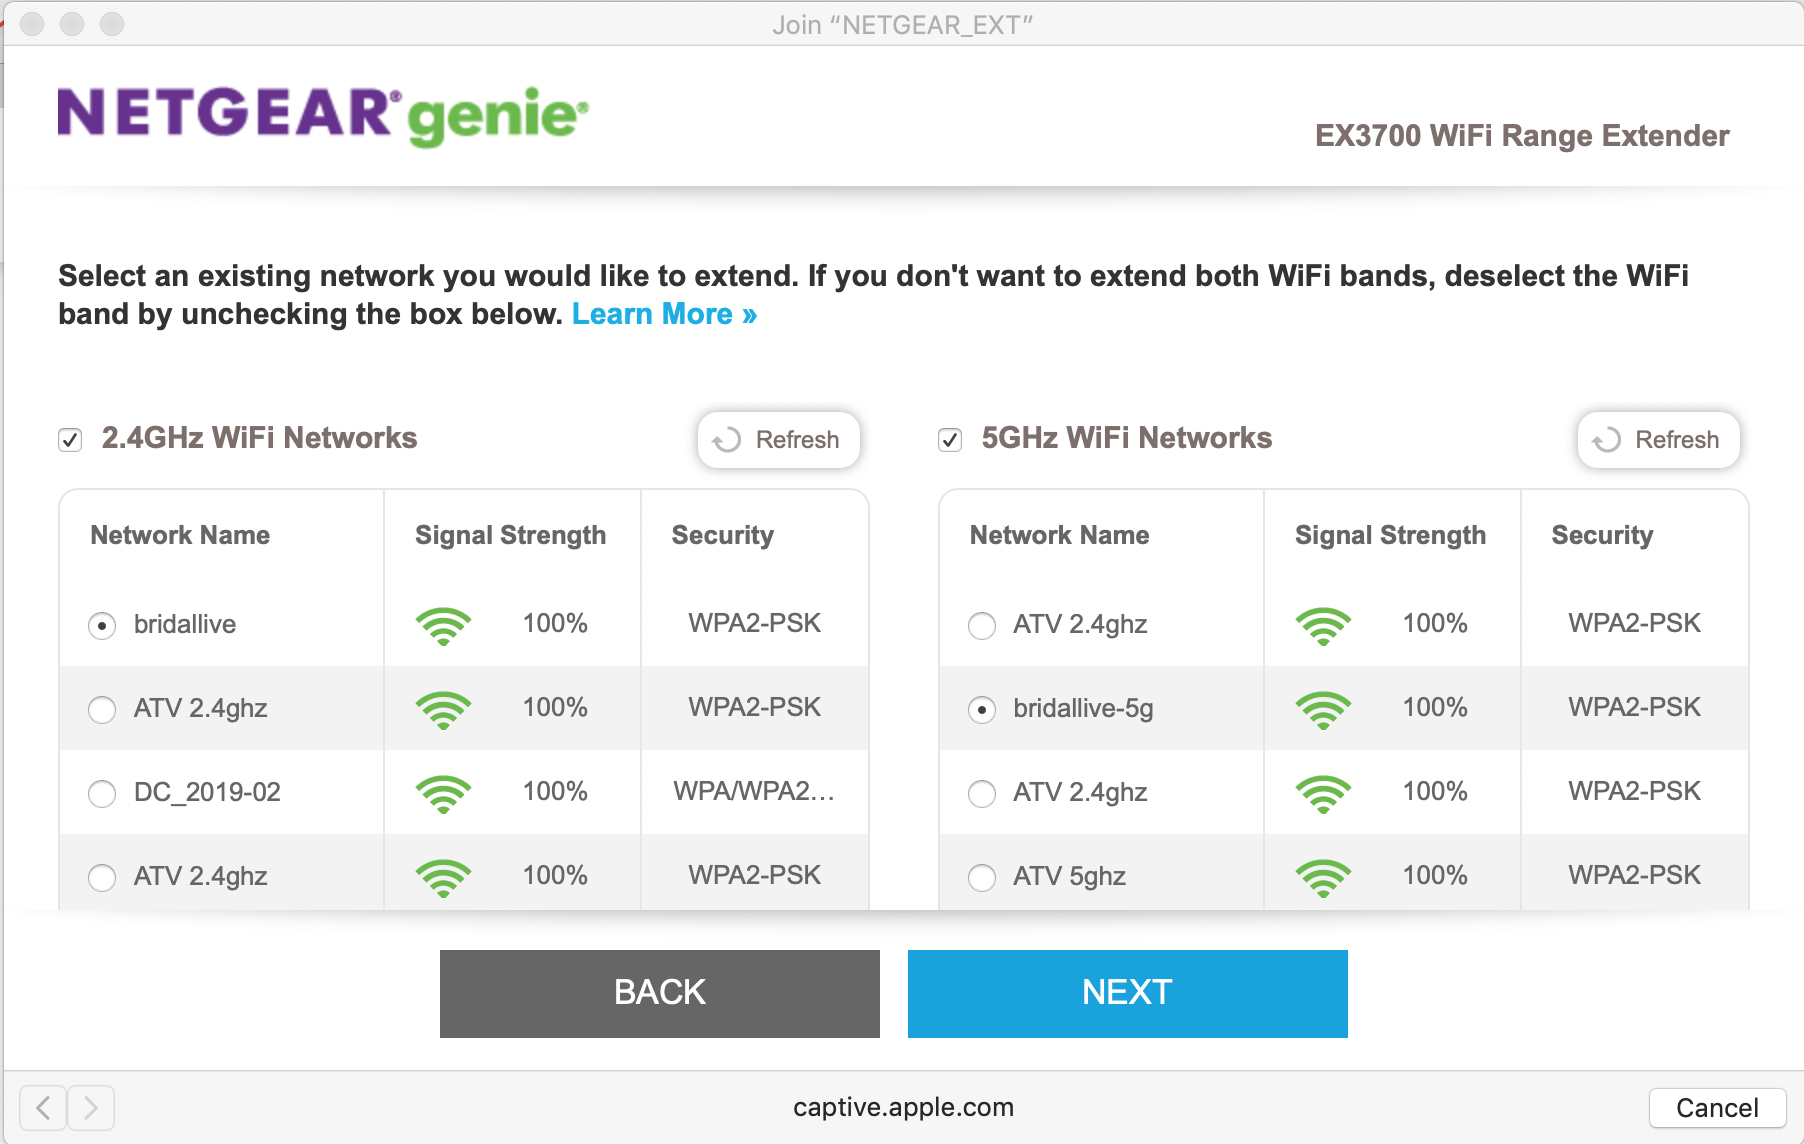
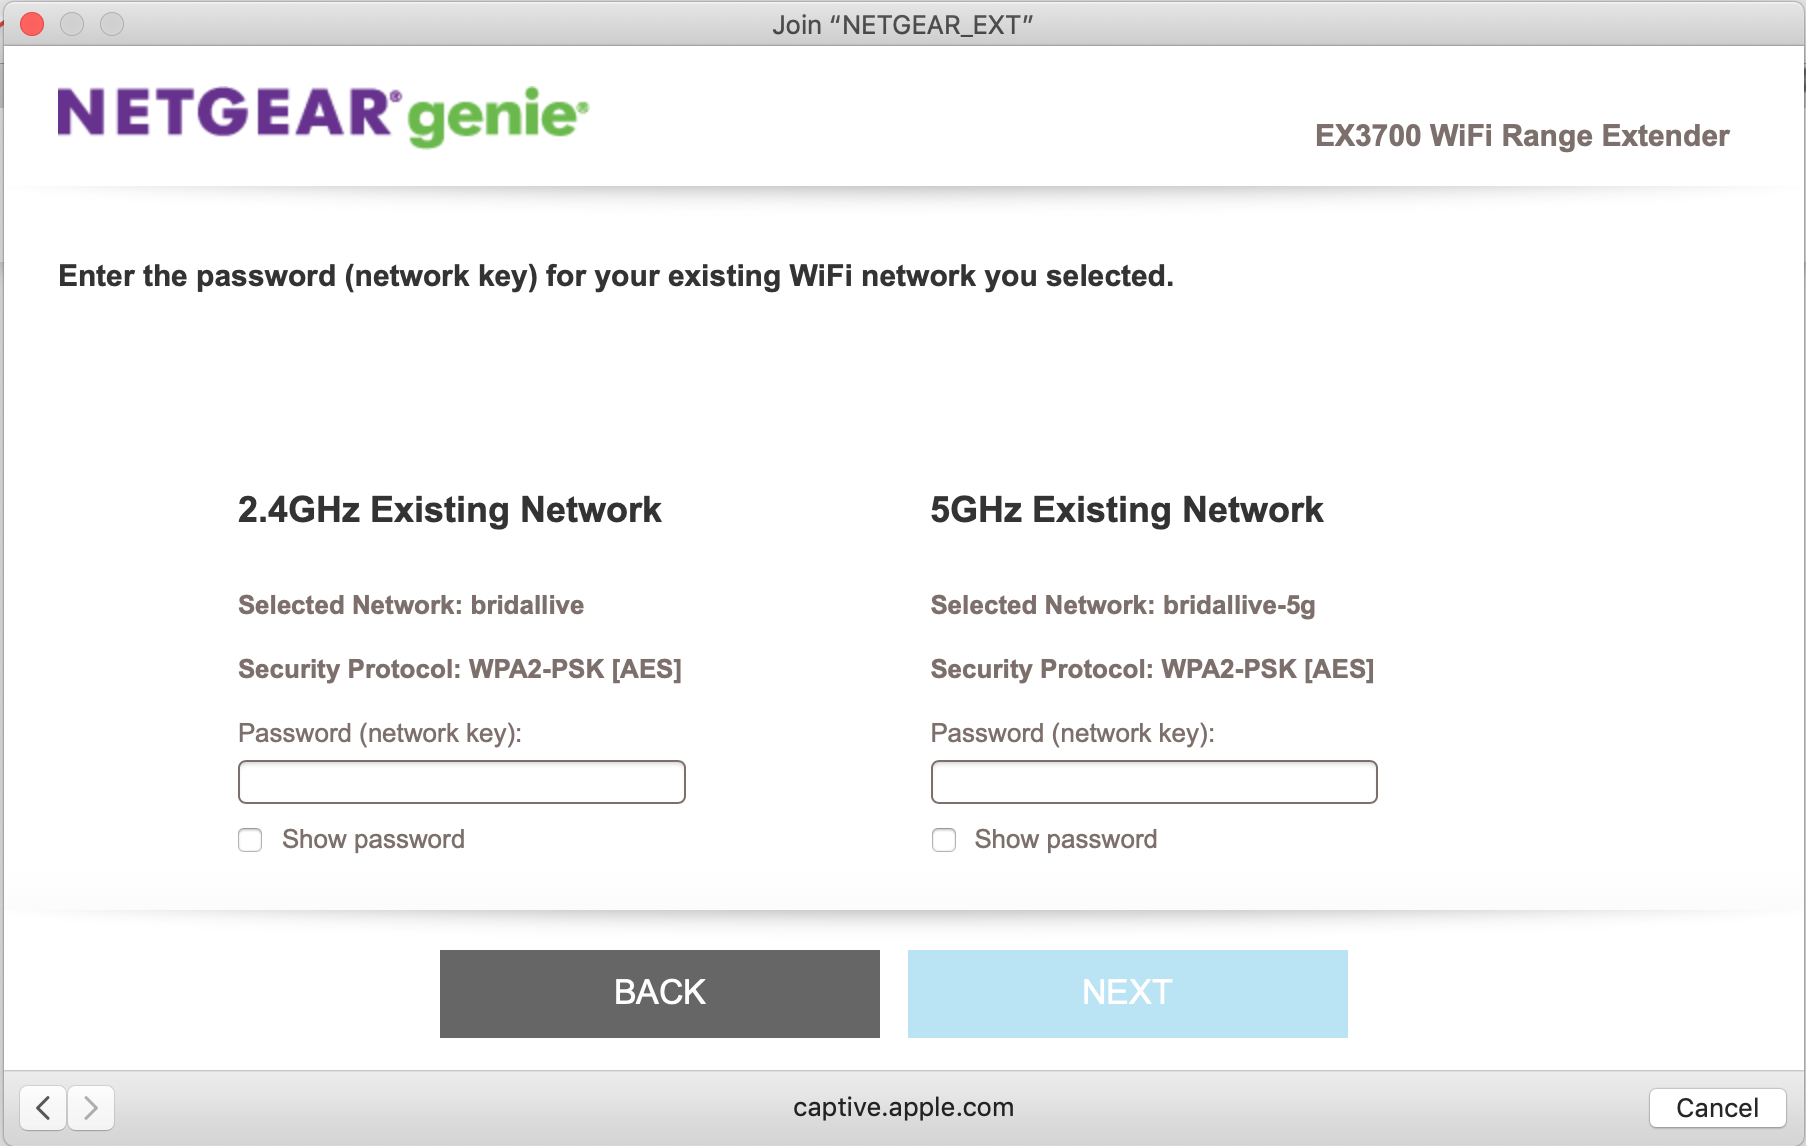
- Enter your password for your current WiFi network(s)
- Enter a network name and security settings for your extended WiFi network(s). (You may want to keep the names and passwords as they are to keep the settings simpler.)
- Go back to the network manager area on your computer to select a WiFi network. Connect to your new extended WiFi network name.

- Click the Continue button from the NETGEAR genie setup. You will now see a message that displays confirming that the extender is connected to the new extended WiFi network.
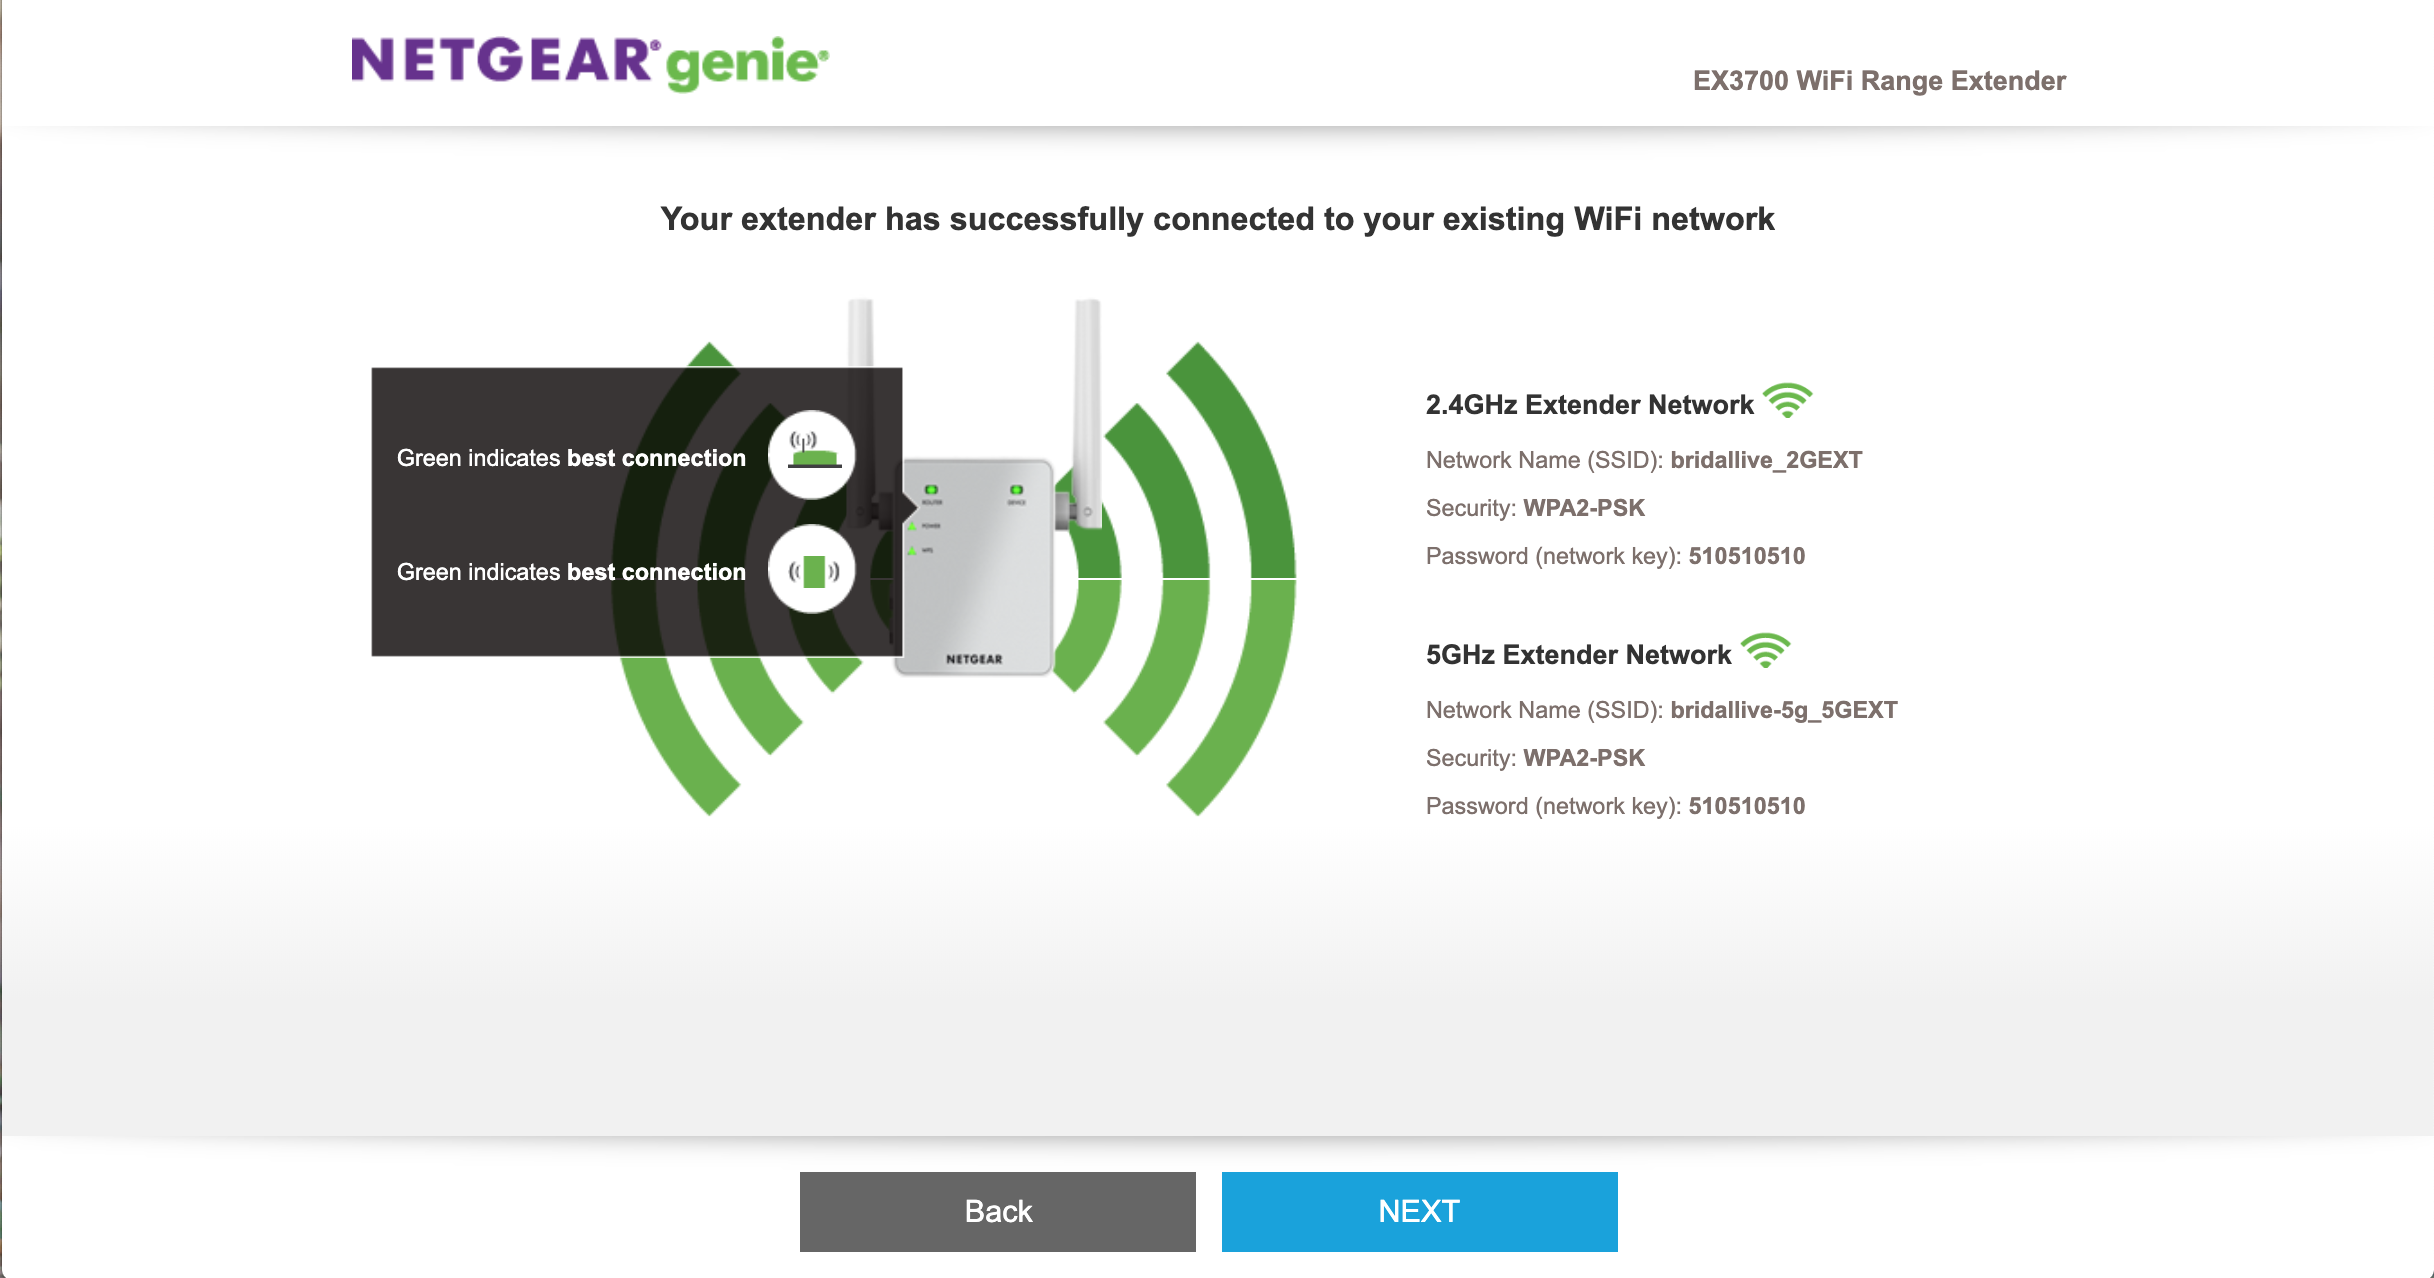
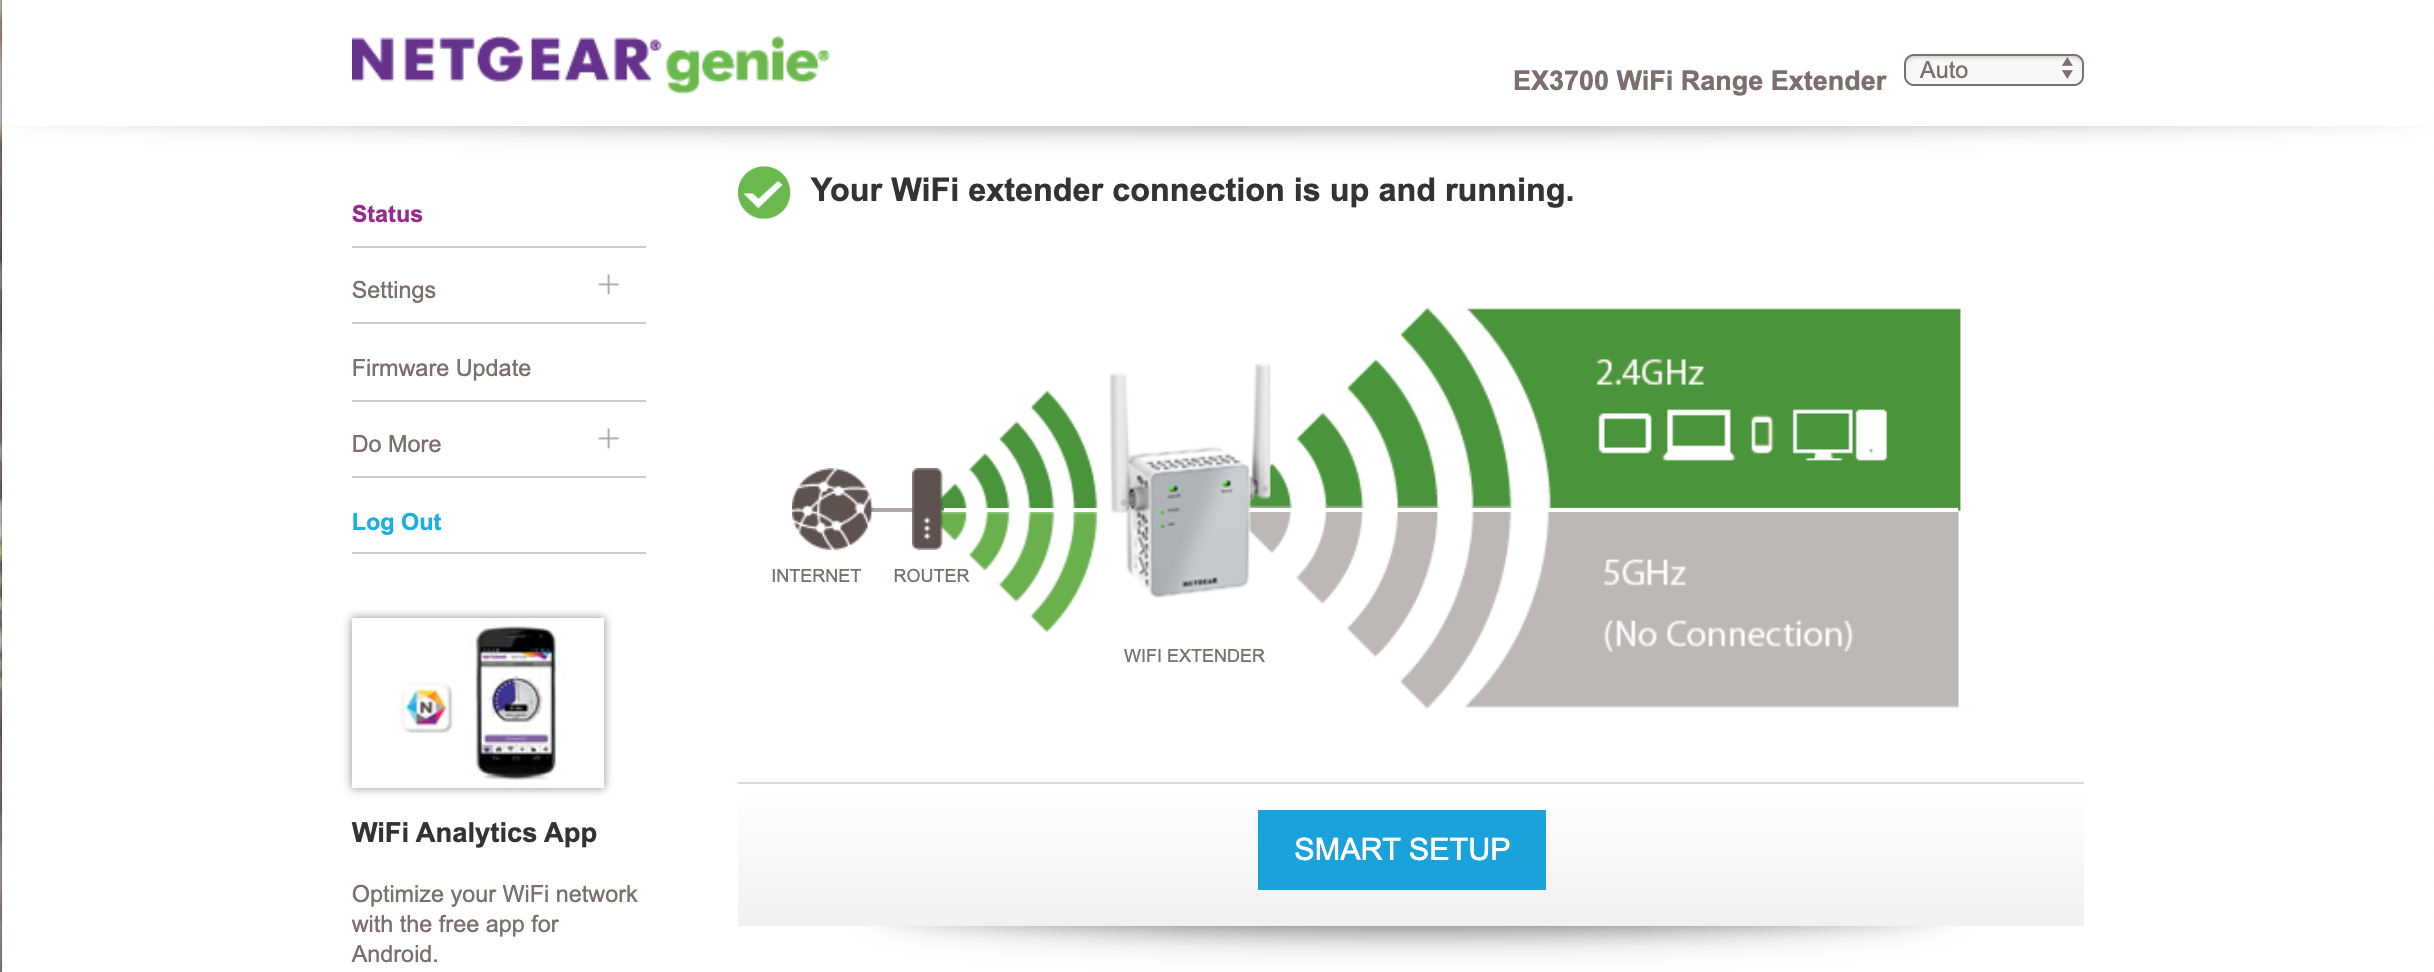
- Click the NEXT button to display the Status screen. You will see which WiFi network (if you have more than one) you are connected to.
Connect MX925 to NETGEAR WiFi Extender
- Unplug the WiFi extender and move it to the location where you want to plug in the MX925 (front desk, etc.). The location you choose must be within the range of your existing WiFi router network.
- Plug the WiFi extender into an electrical outlet. Make sure if the MX925 is plugging into the same electrical outlet, that the plug will also fit.
- Wait for the Power LED to light solid green. If the Power LED does not light, press the Power On/Off button on the side of the extender. The Router Link LED will indicate the best connection between the extender and the router with a solid green light. A solid amber light means a good connection, solid red light is a poor connection, and off means no connection, and you will need to move the extender closer to the router.
- Once the WiFi extender is fully on and connected, plug the ethernet cord that you received with the MX925 into the back of the MX925 device and into the side of the NETGEAR WiFi Extender. Plug the MX925 power cord into the electrical outlet.
- This will take a couple of minutes for the MX925 to start up and register. Once the MX925 has fully booted up, you will see an Activation Code.
Activate device in MerchantTrack
- Navigate to MerchantTrack
- Login with the credentials sent in your Welcome Email
- Click "Activate Terminal" from the left menu
- Enter the Activation Code and give the device a description
- Click "Activate"
- Wait a while and the device will read "TriPOS" when the activation is successful.
Having trouble activating the device? Check out our Troubleshooting article
Link BridalLive to the Device
Once your device is setup within Merchant Track, it's ready to be linked to BridalLive. We have a separate tutorial that will walk you through the process. Click here to continue.