This article will show you areas of what the Client Portal can look like from the customer's point of view. This specific article will show what the bride would see when they are first introduced to the Client Portal. The Client Portal is fully customizable and can look different depending on how much information the Contact's profile already has. Many things can be added and removed from what you see in our standard screenshots, so please ask if there is something you would prefer your customers to not have access to!
Bride's First Introduction to the Client Portal:
There can be many ways a bride is first introduced to the Client Portal. We have seen it work really well when it is included as part of the appointment confirmation Smart Flow in and email and a text message. The first introduction will also depend on how much information their Contact profile already has. This screenshot will show when we have no information for the bride yet. You can also customize the default Event Types on your register screen.
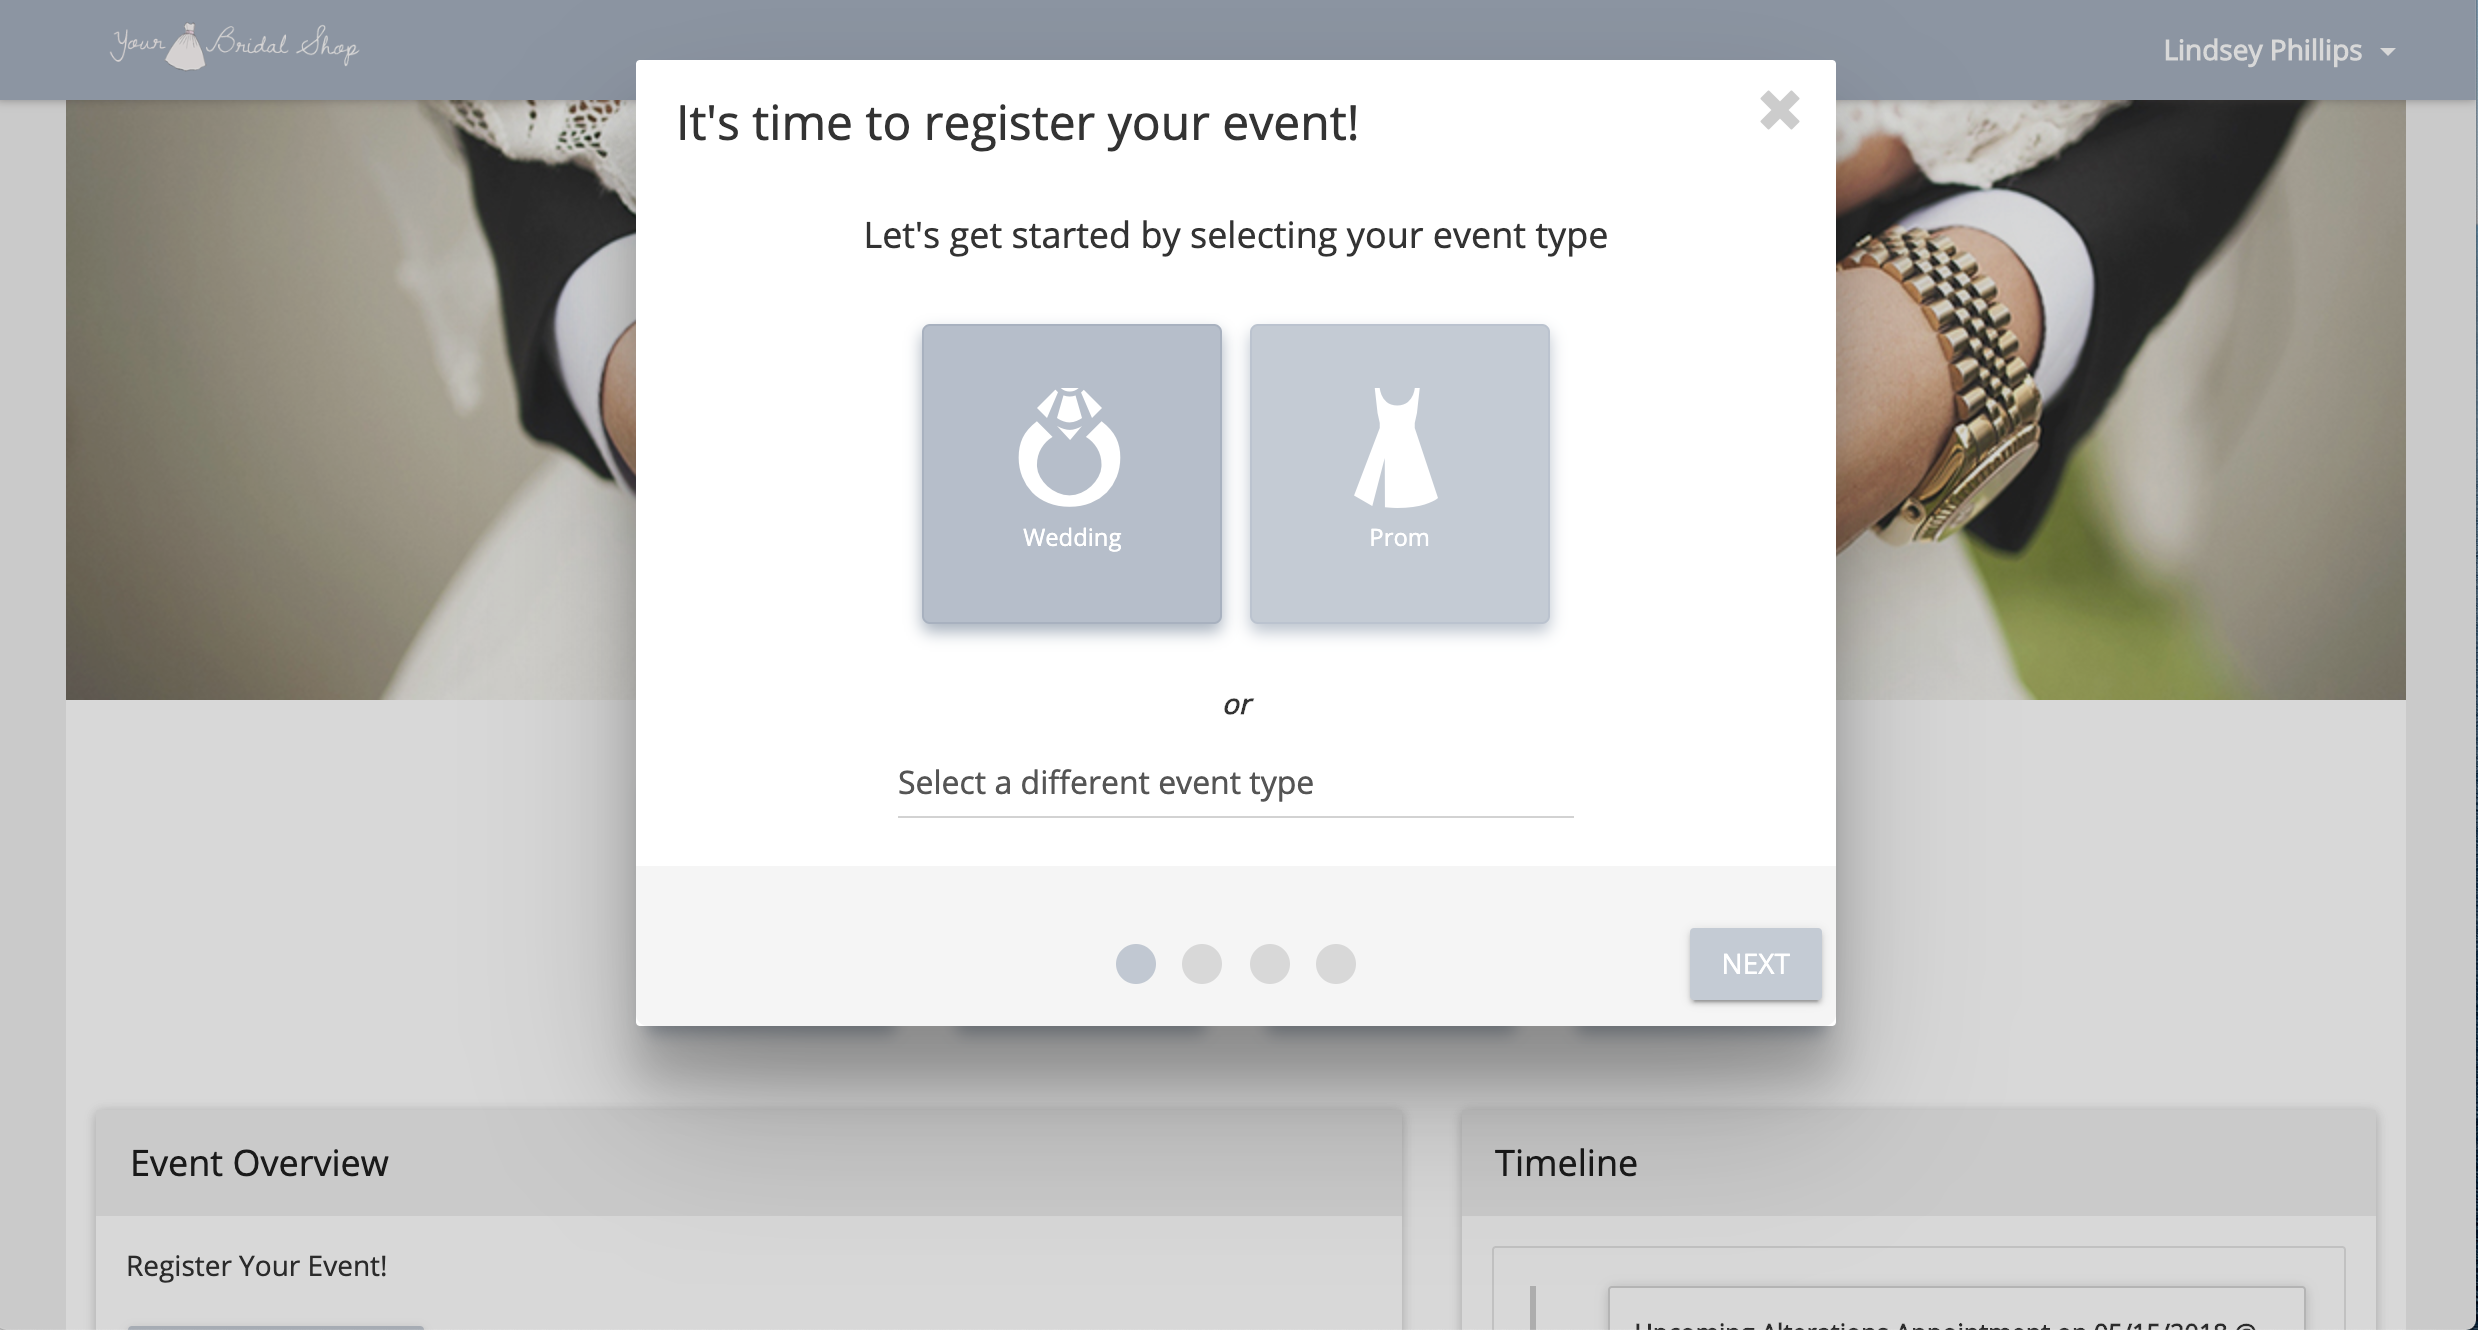
Registering the Event:
If an event has not been registered to the Contact, the Client Portal will start off there and ask the bride to enter her wedding and event details.
Step 1 - Wedding Details

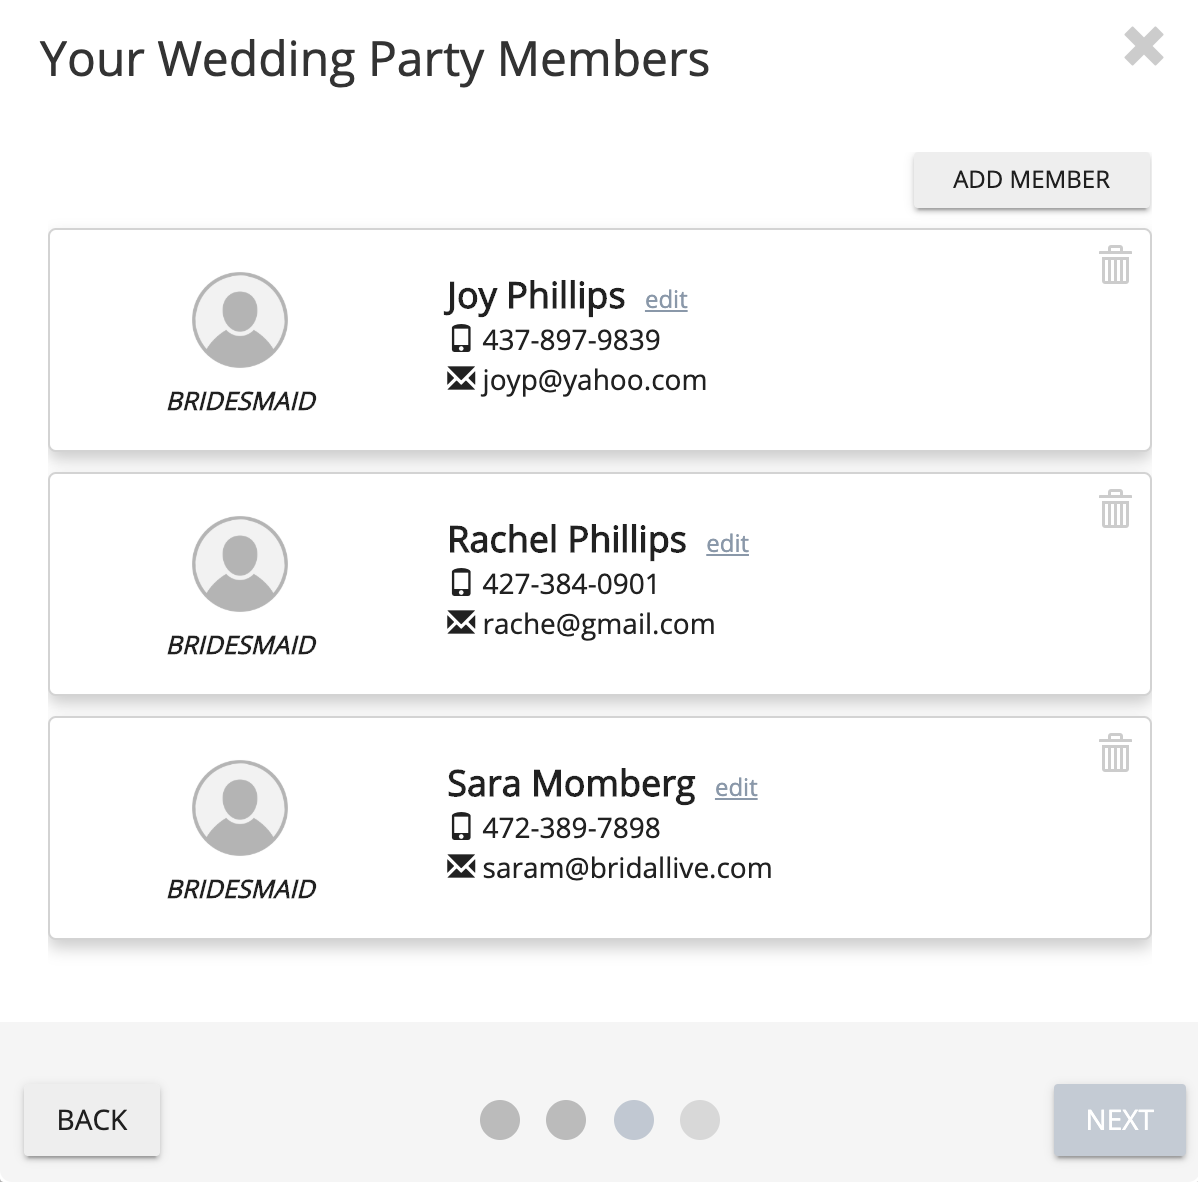
Step 2 - Party Members
Step 3 - Confirm Details and Submit to Store
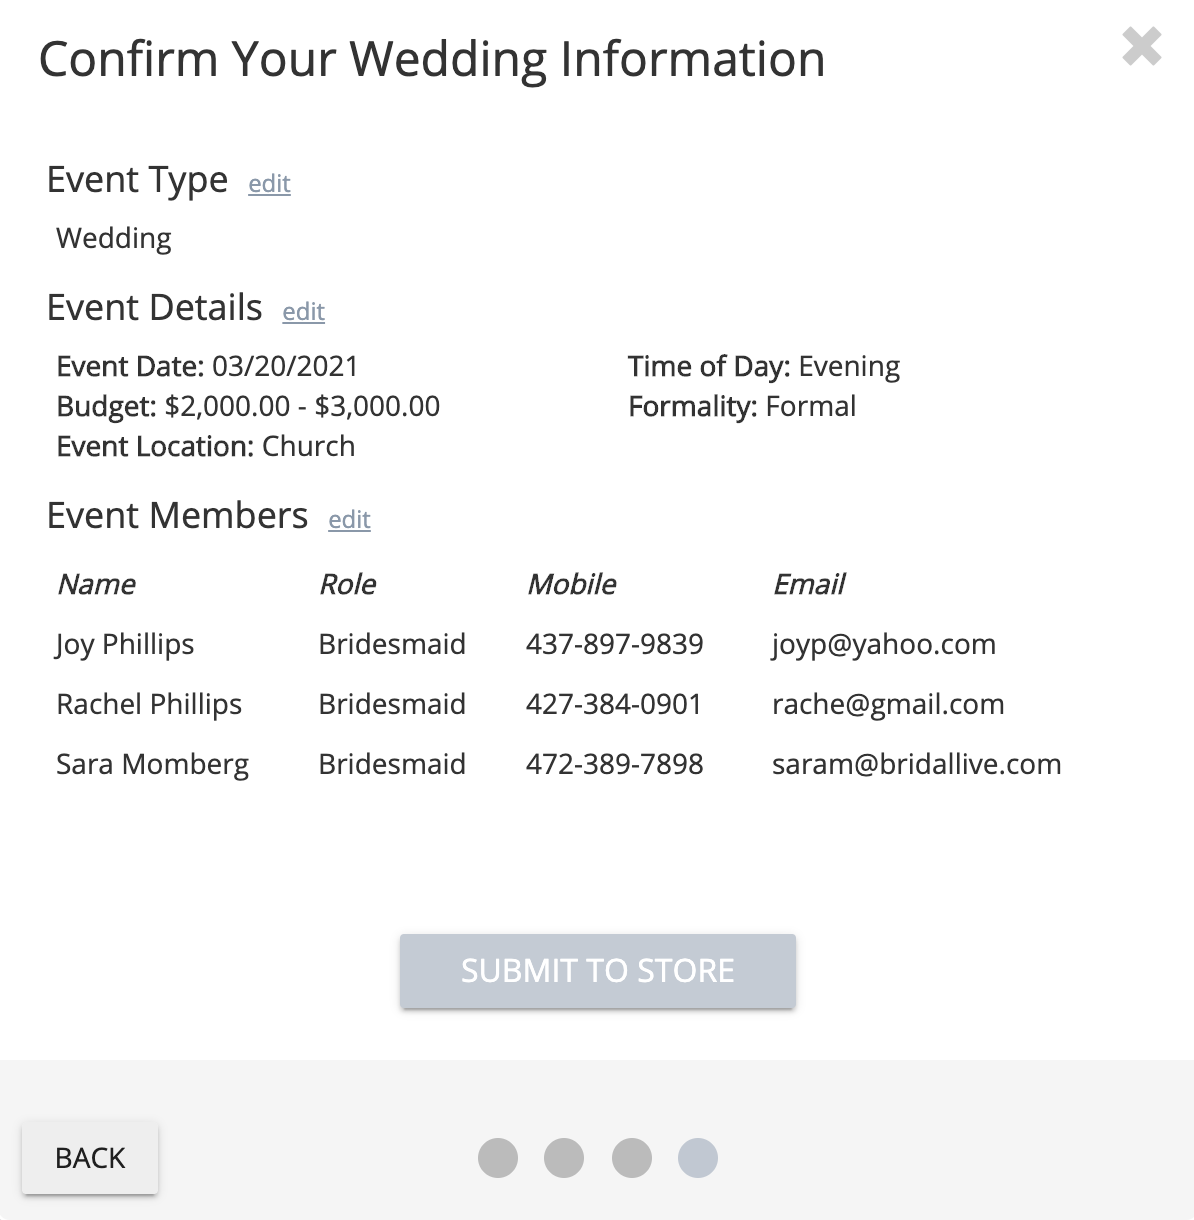
Approved Event Registration:
Once the bride submits the event information, the store will receive a Client Portal notification in BridalLive. Once the store approves the event registration, the bride will see the Client Portal populated with the event information.
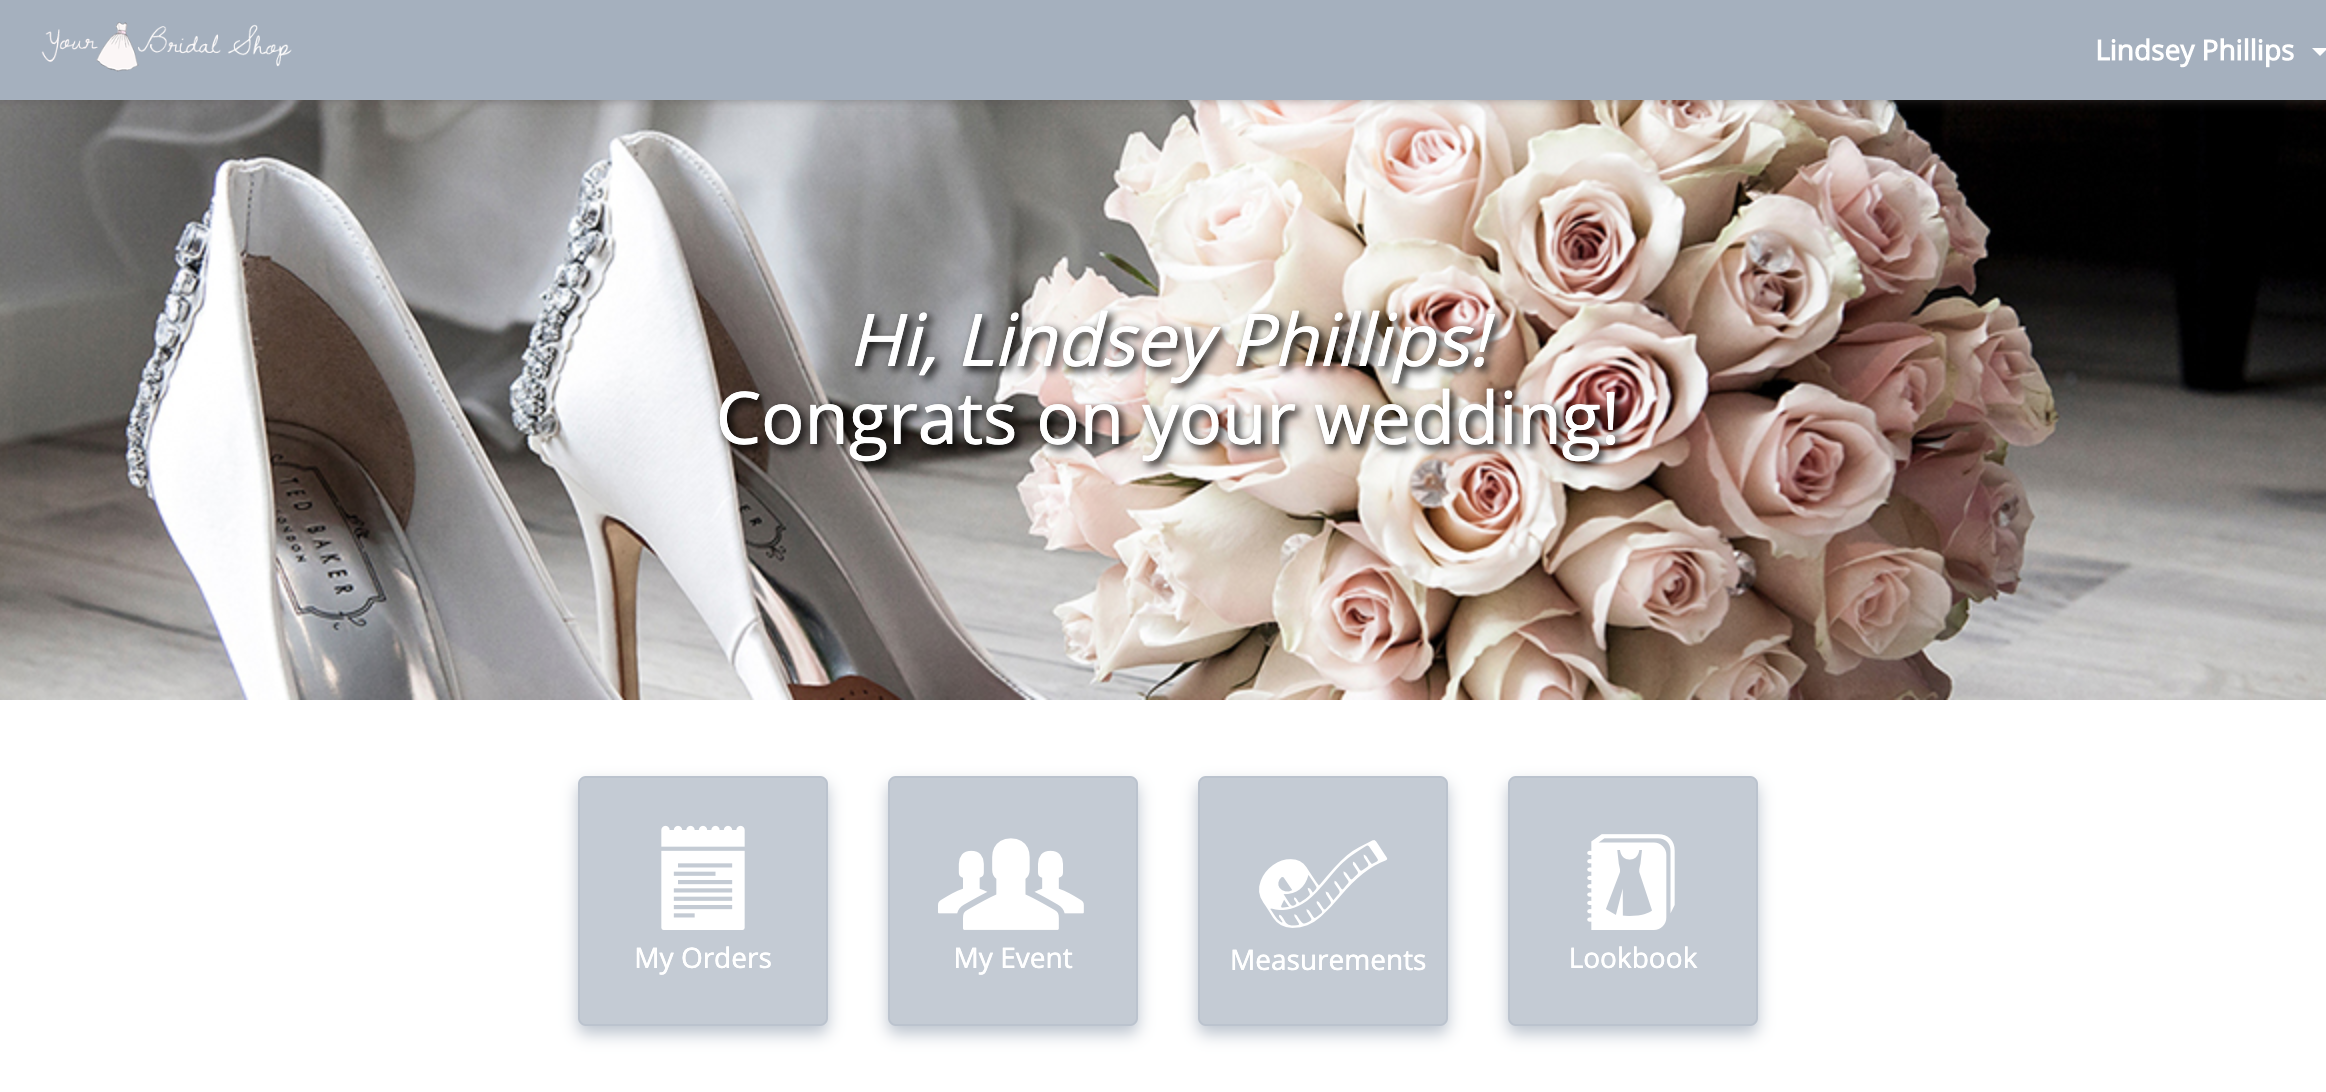
Dashboard
The Dashboard of the Client Portal can have a Greeting and a Hero image that can be customized by the store. The Dashboard will also give the bride access to My Orders, My Event, Measurements, and Lookbook. These menu options can be customized or removed if you do not want to use that specific feature of the Client Portal.
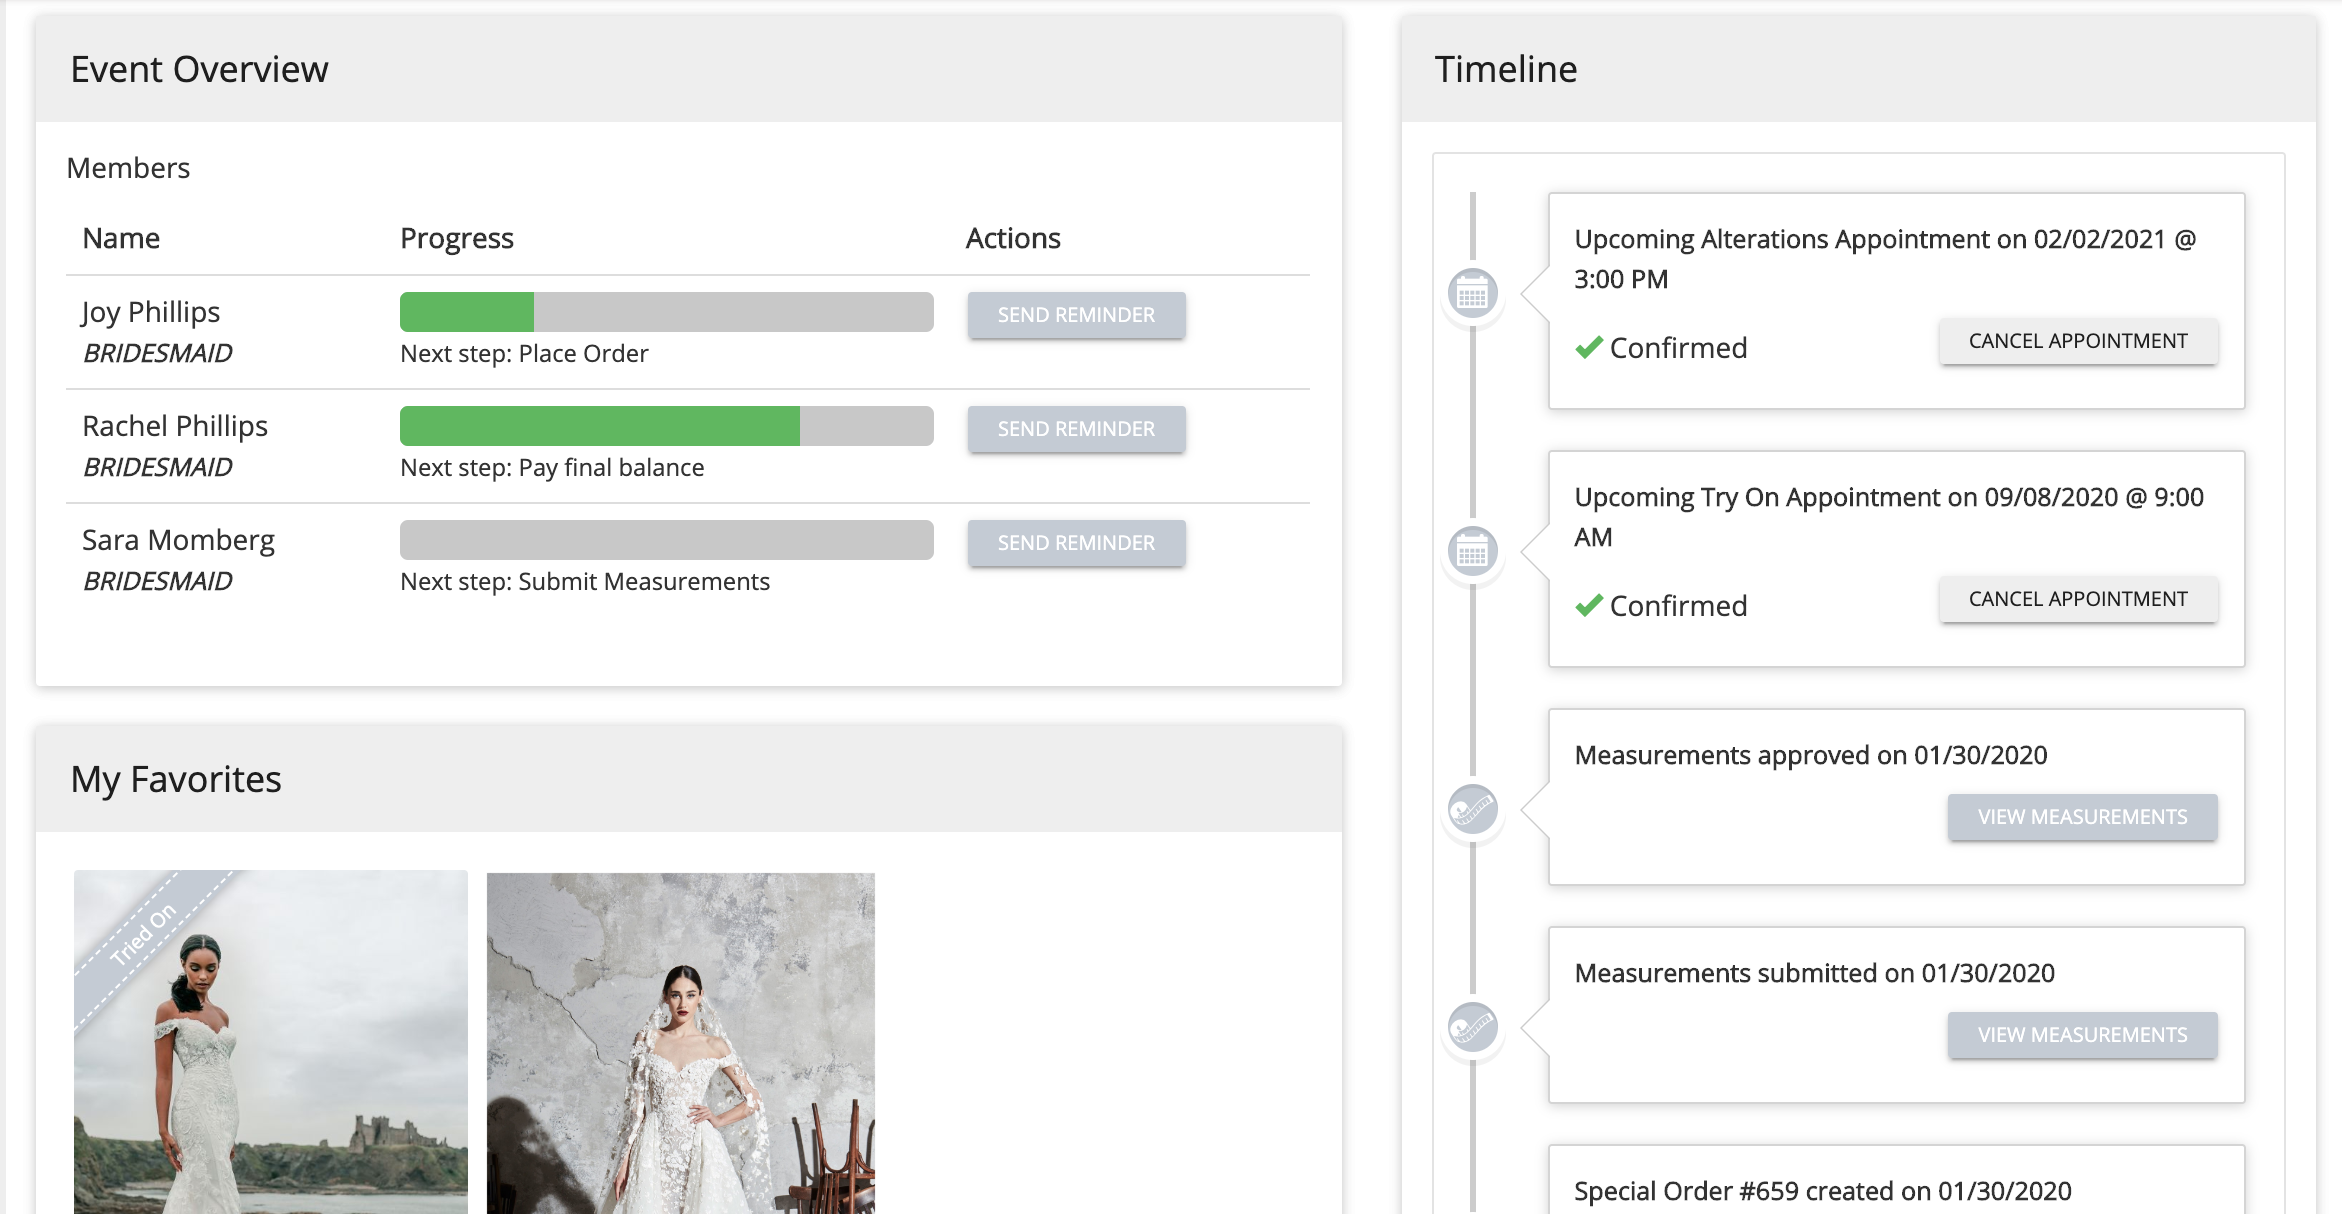
Event Overview - The Dashboard can also include the Event Overview with party members tracking their individual event management steps. This area will allow the bride to send a reminder to party members to complete their steps.
My Favorites - The Dashboard can also include My Favorites. These are favorites the bride has selected from either your Lookbook or a Sales Consultant has added as a Favorite in their BridalLive Contact Profile. You can see which favorites have been tried on as well as any notes the bride or Sales Consultant may have entered about the favorite.
Timeline - The Dashboard can also include a Timeline of the bride's interactions with the store. This will allow the bride to see a clear depiction of her past appointments, future appointments, order dates, etc.
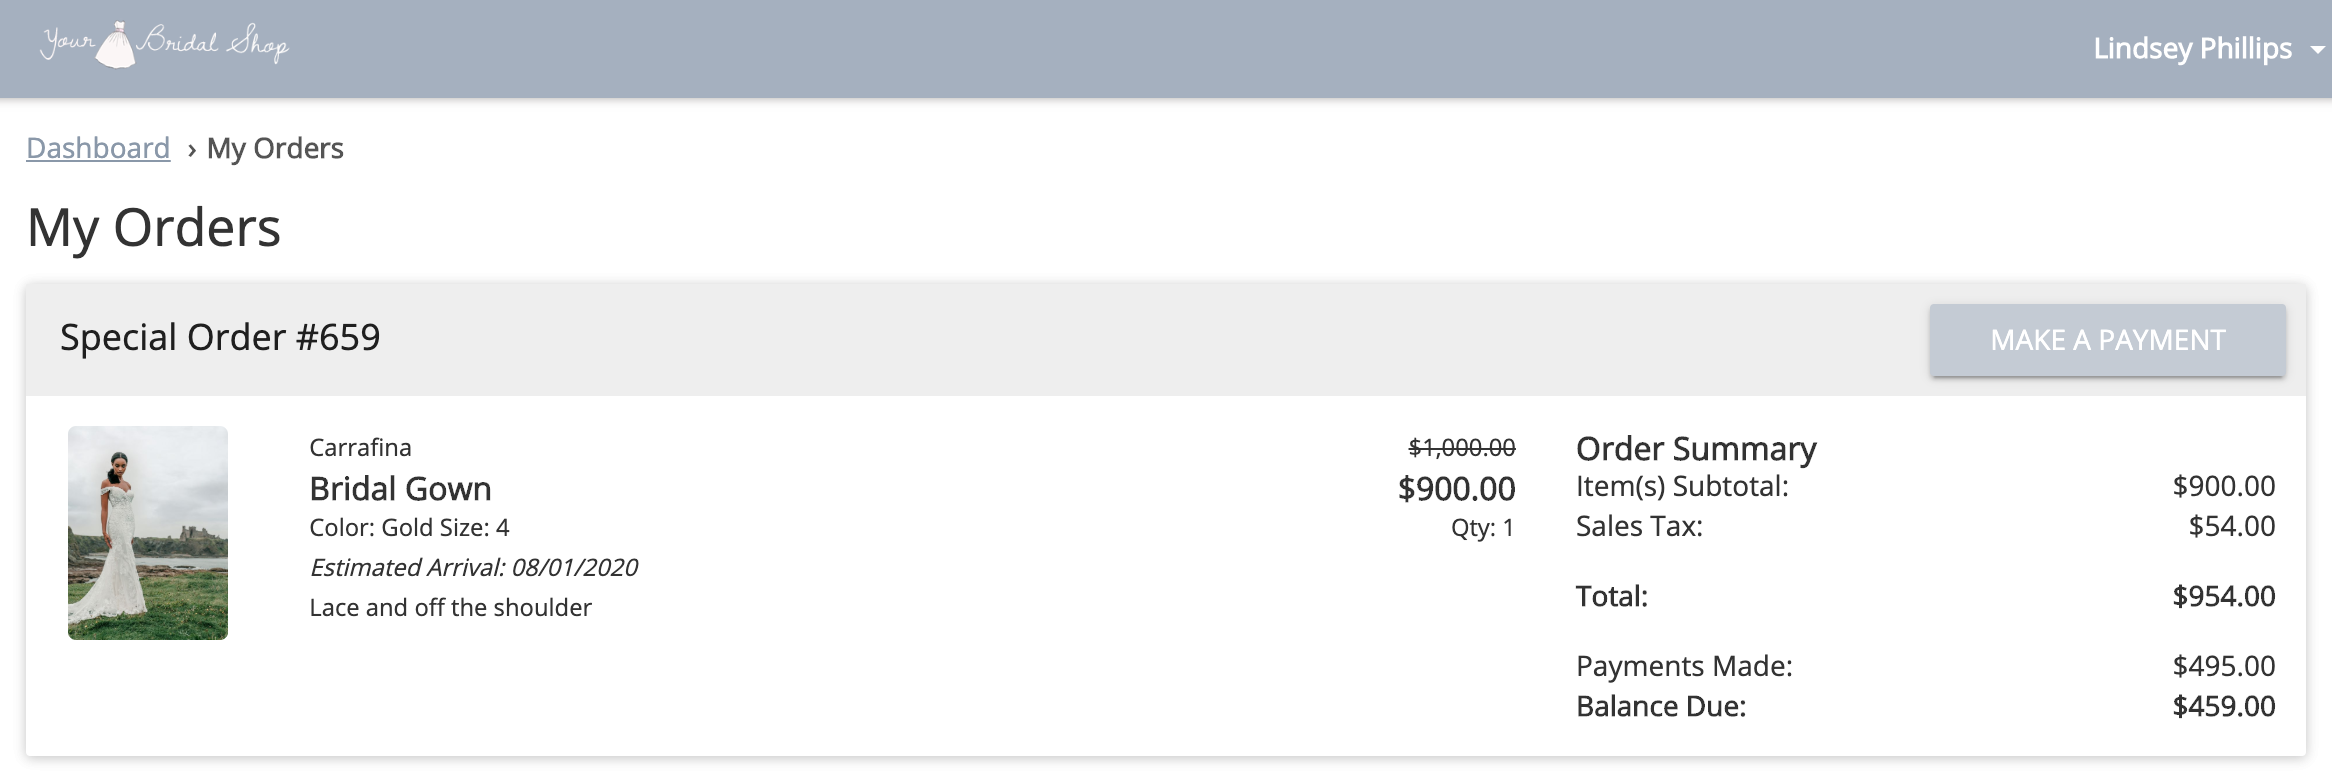
My Orders:
The Client Portal can show the bride their current and past orders in BridalLive, while also allowing them to view signed sales agreements and make payments on their orders. This area is very customizable, as we do know this can be sensitive information. If the bride has multiple orders, they will be able to see all orders not hidden from the customer, as well as all payments made on each transaction.
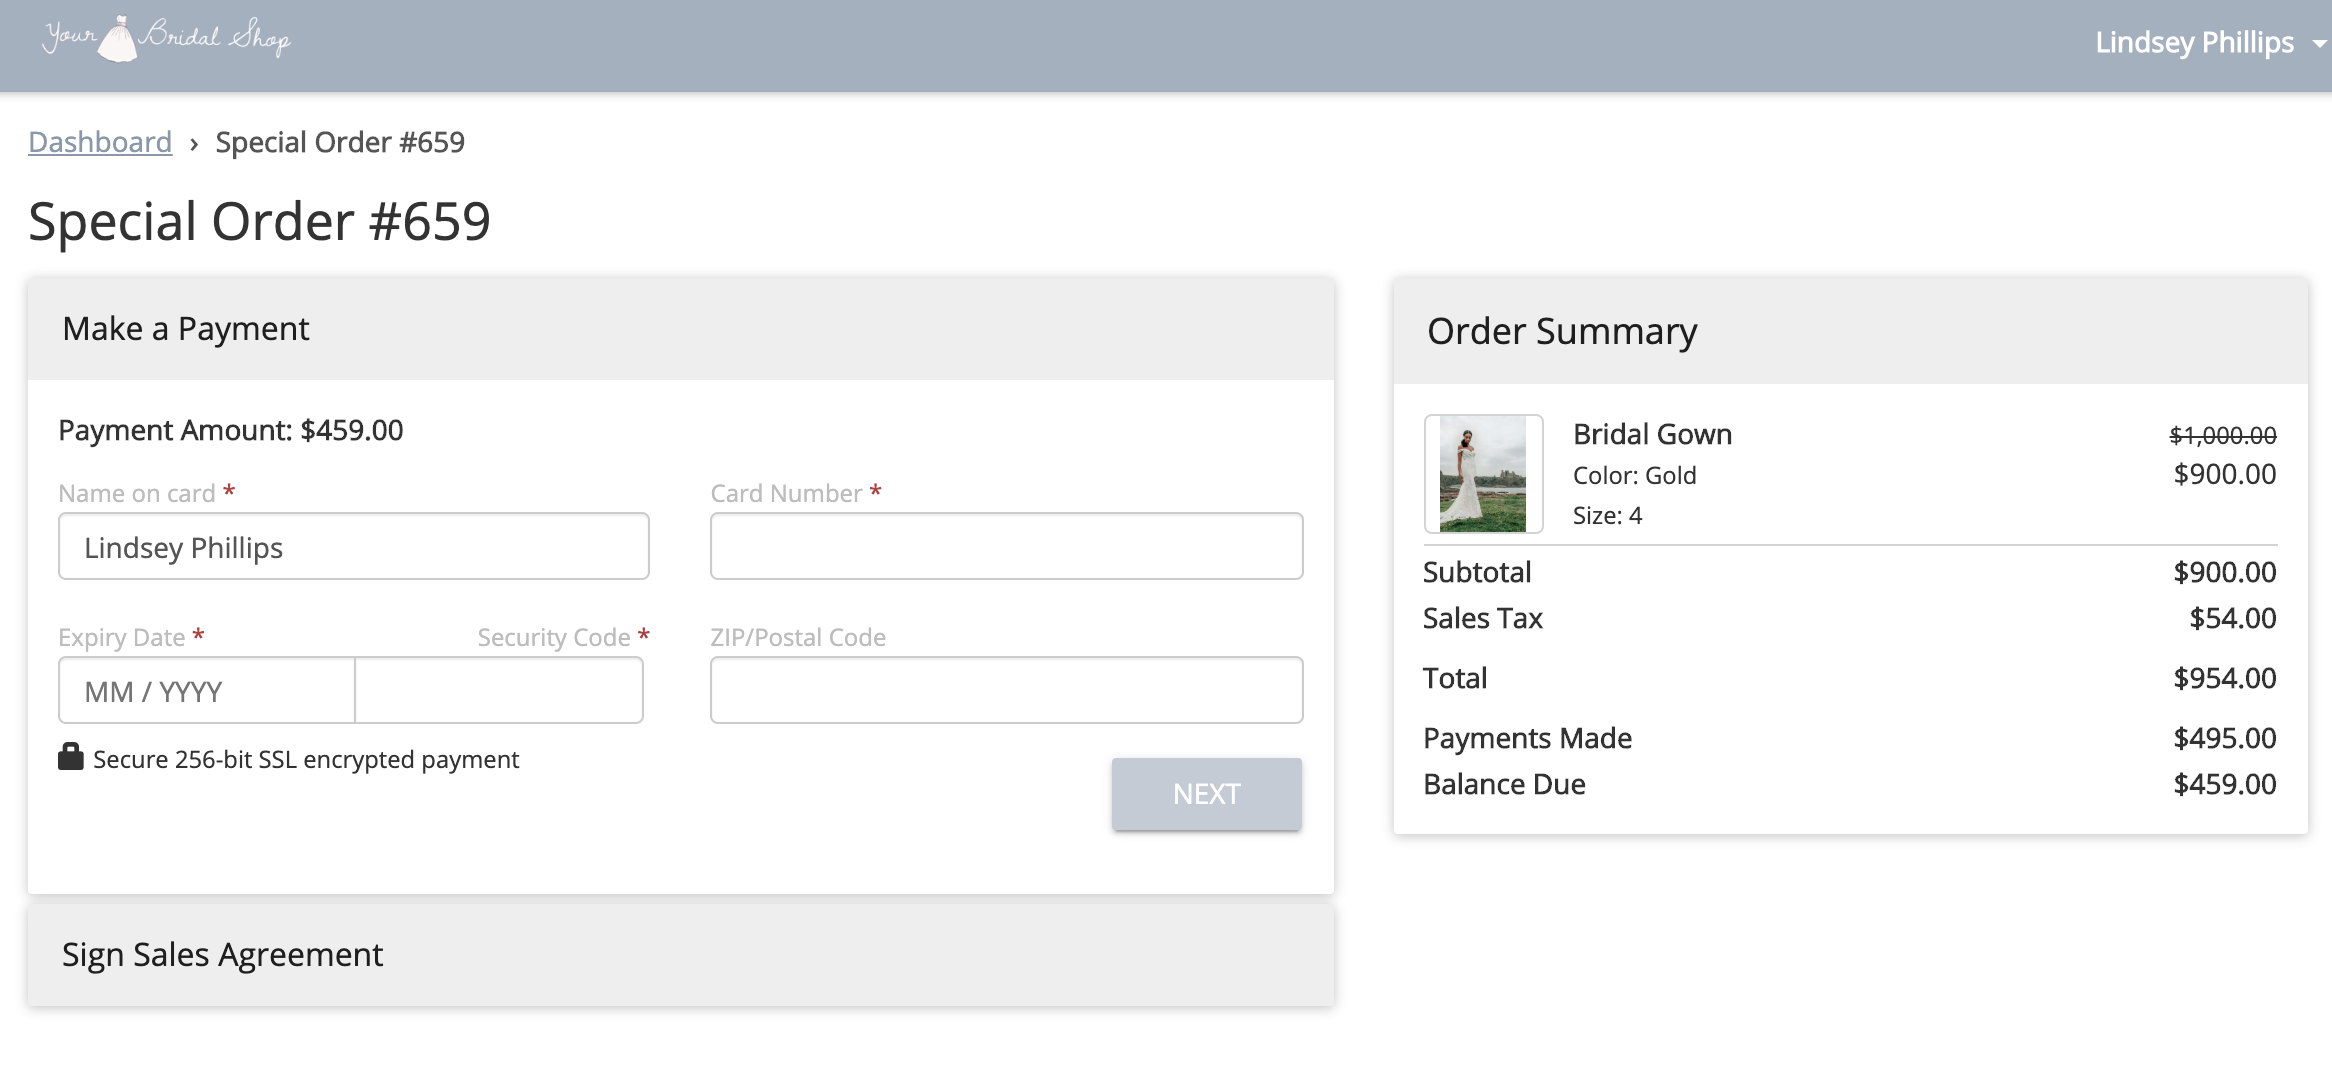
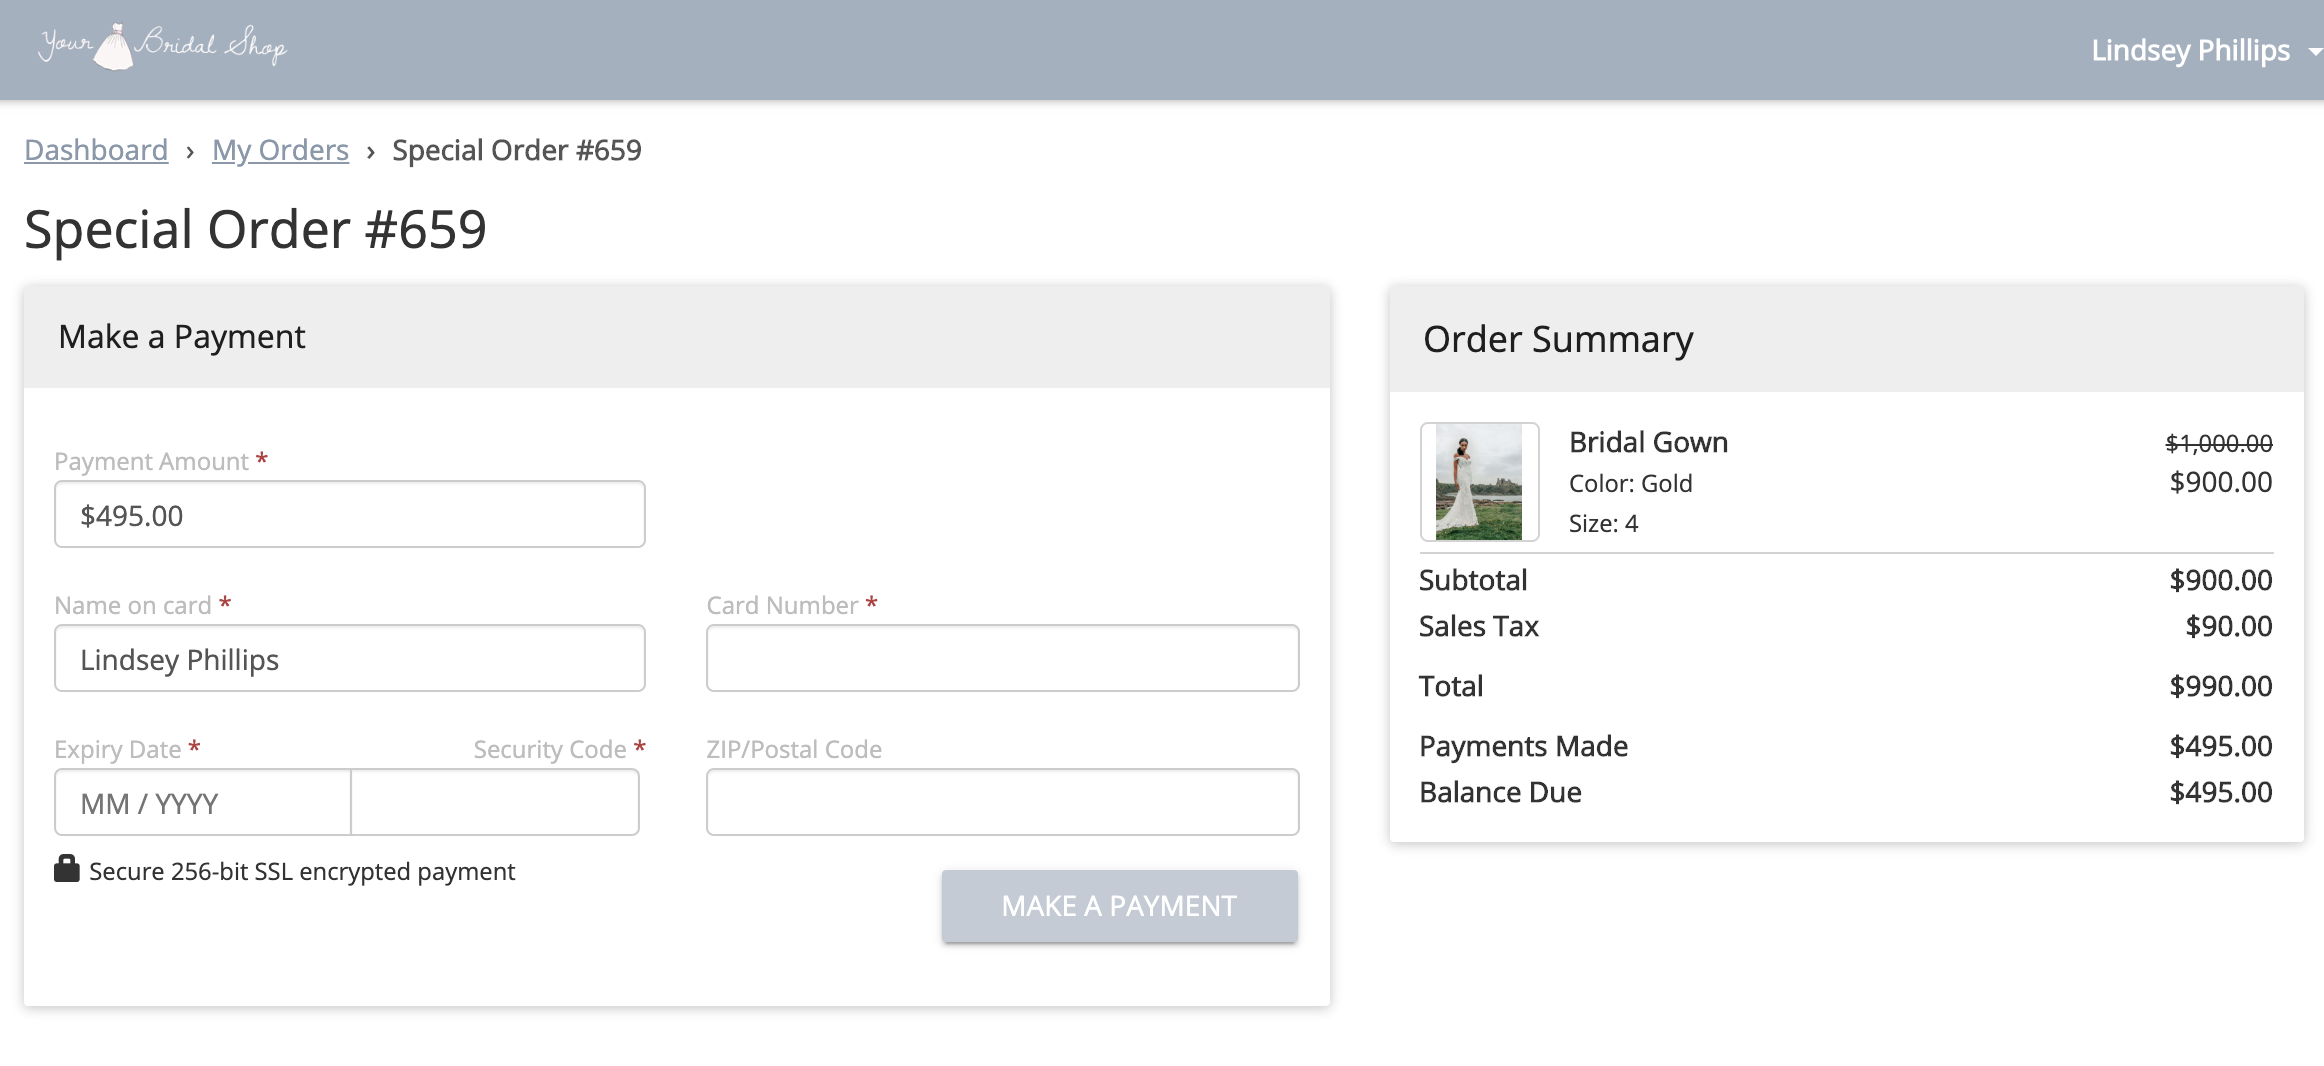
Make a Payment:
The Client Portal provides a secure, encrypted area for brides to make payments for a specific transaction in BridalLive.
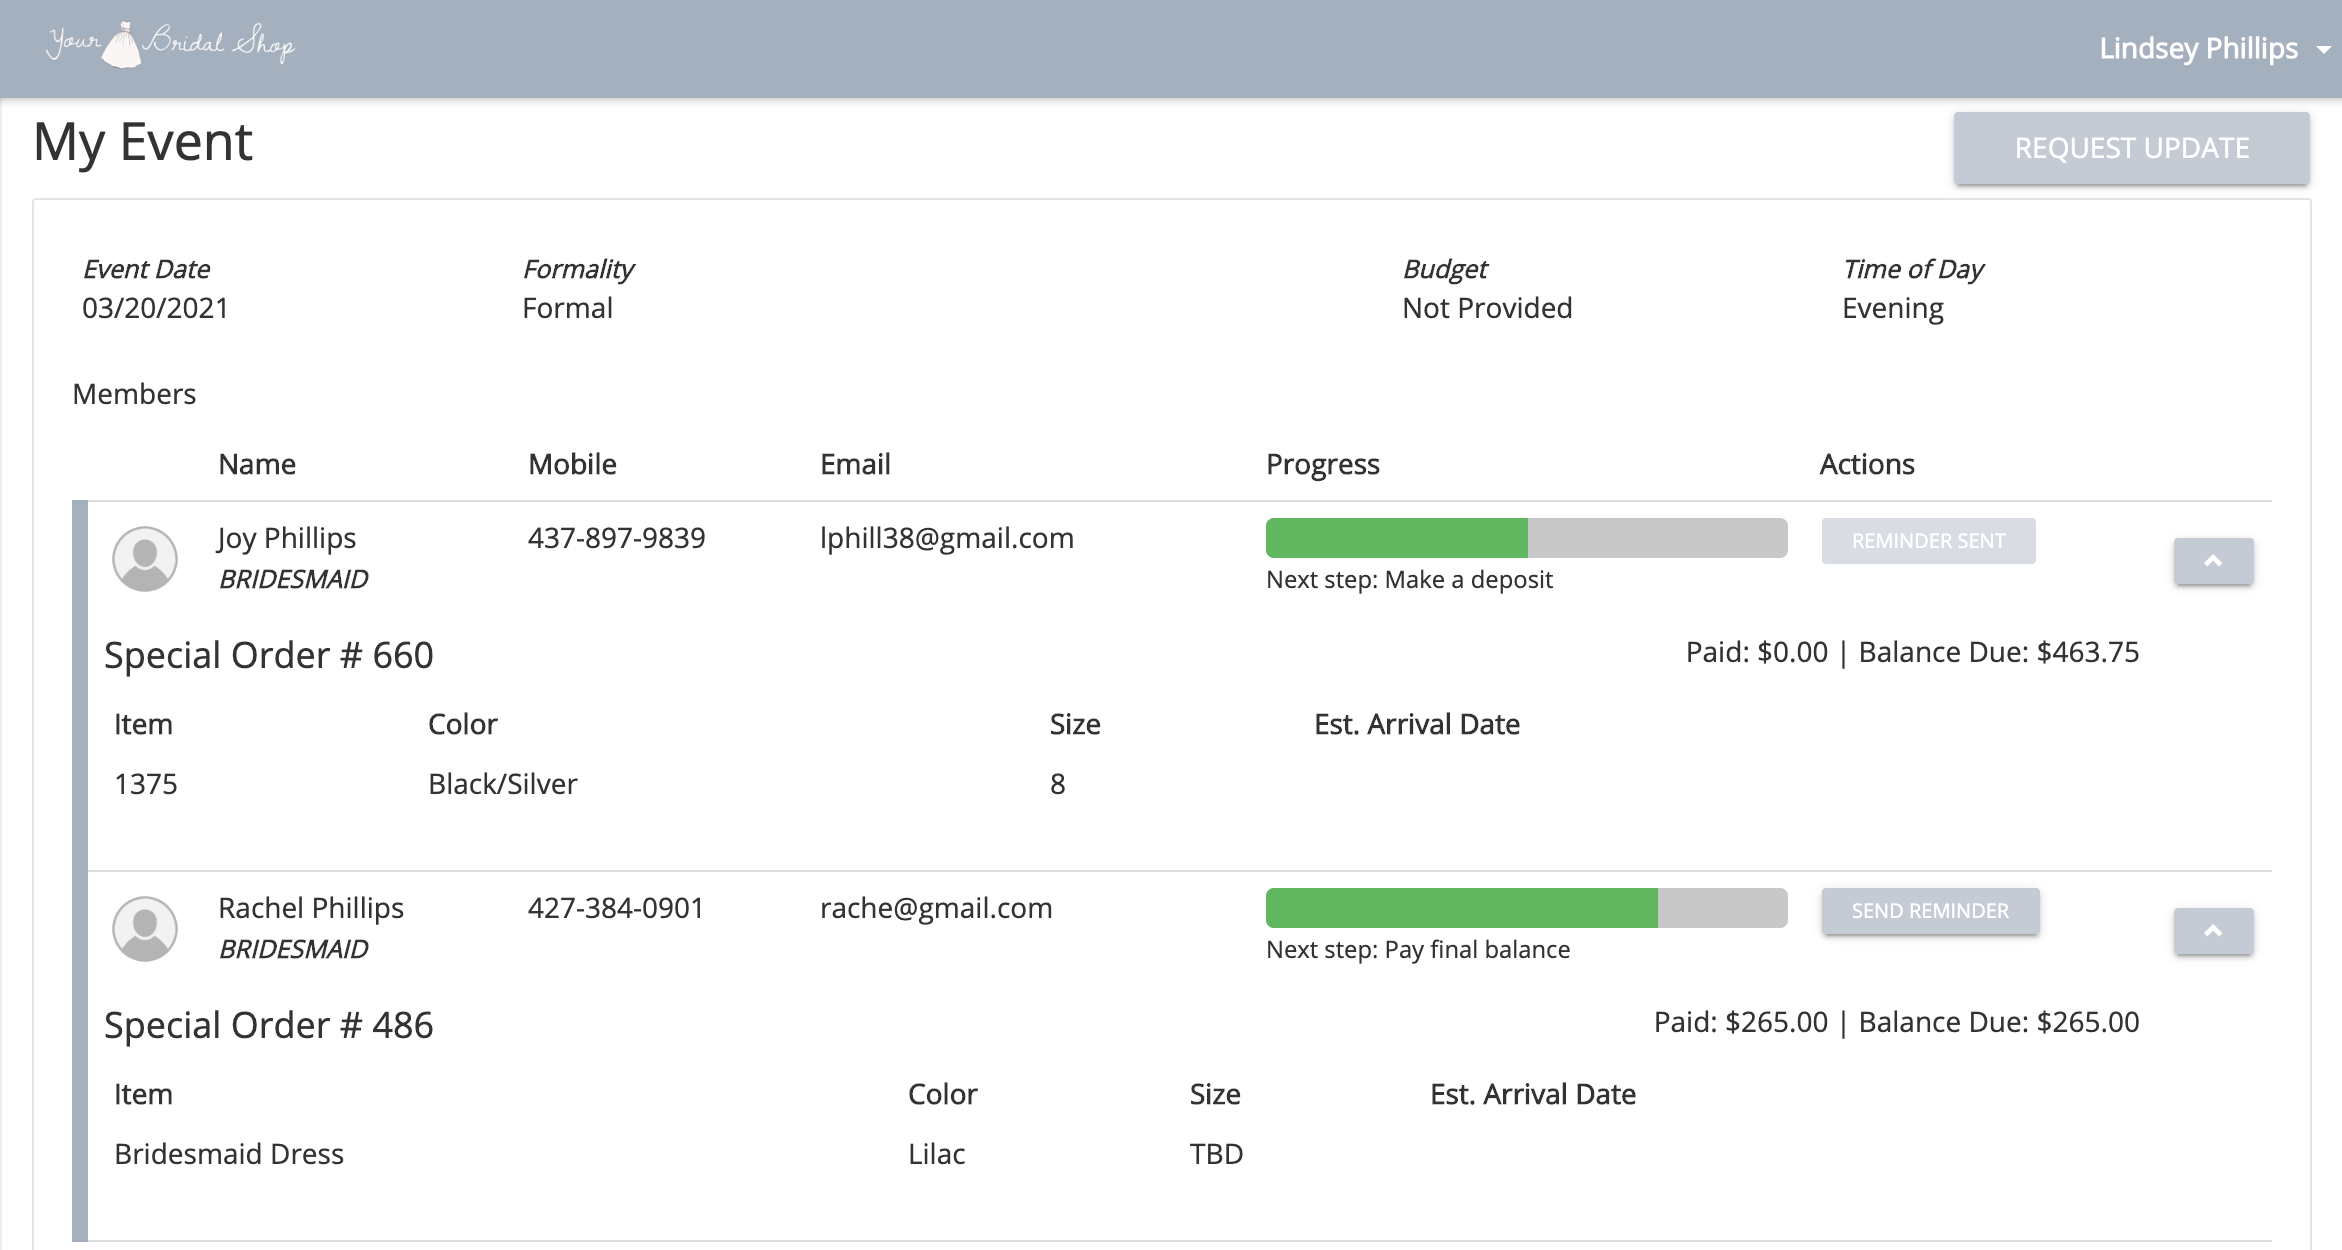
My Event:
The bride can access the My Event area to see even more details about their wedding and all included party members. The bride can view party members' contact details, styles purchased, what steps each party member has completed and remind each party member to complete the steps. A bride can remind a party member no more than once a day.
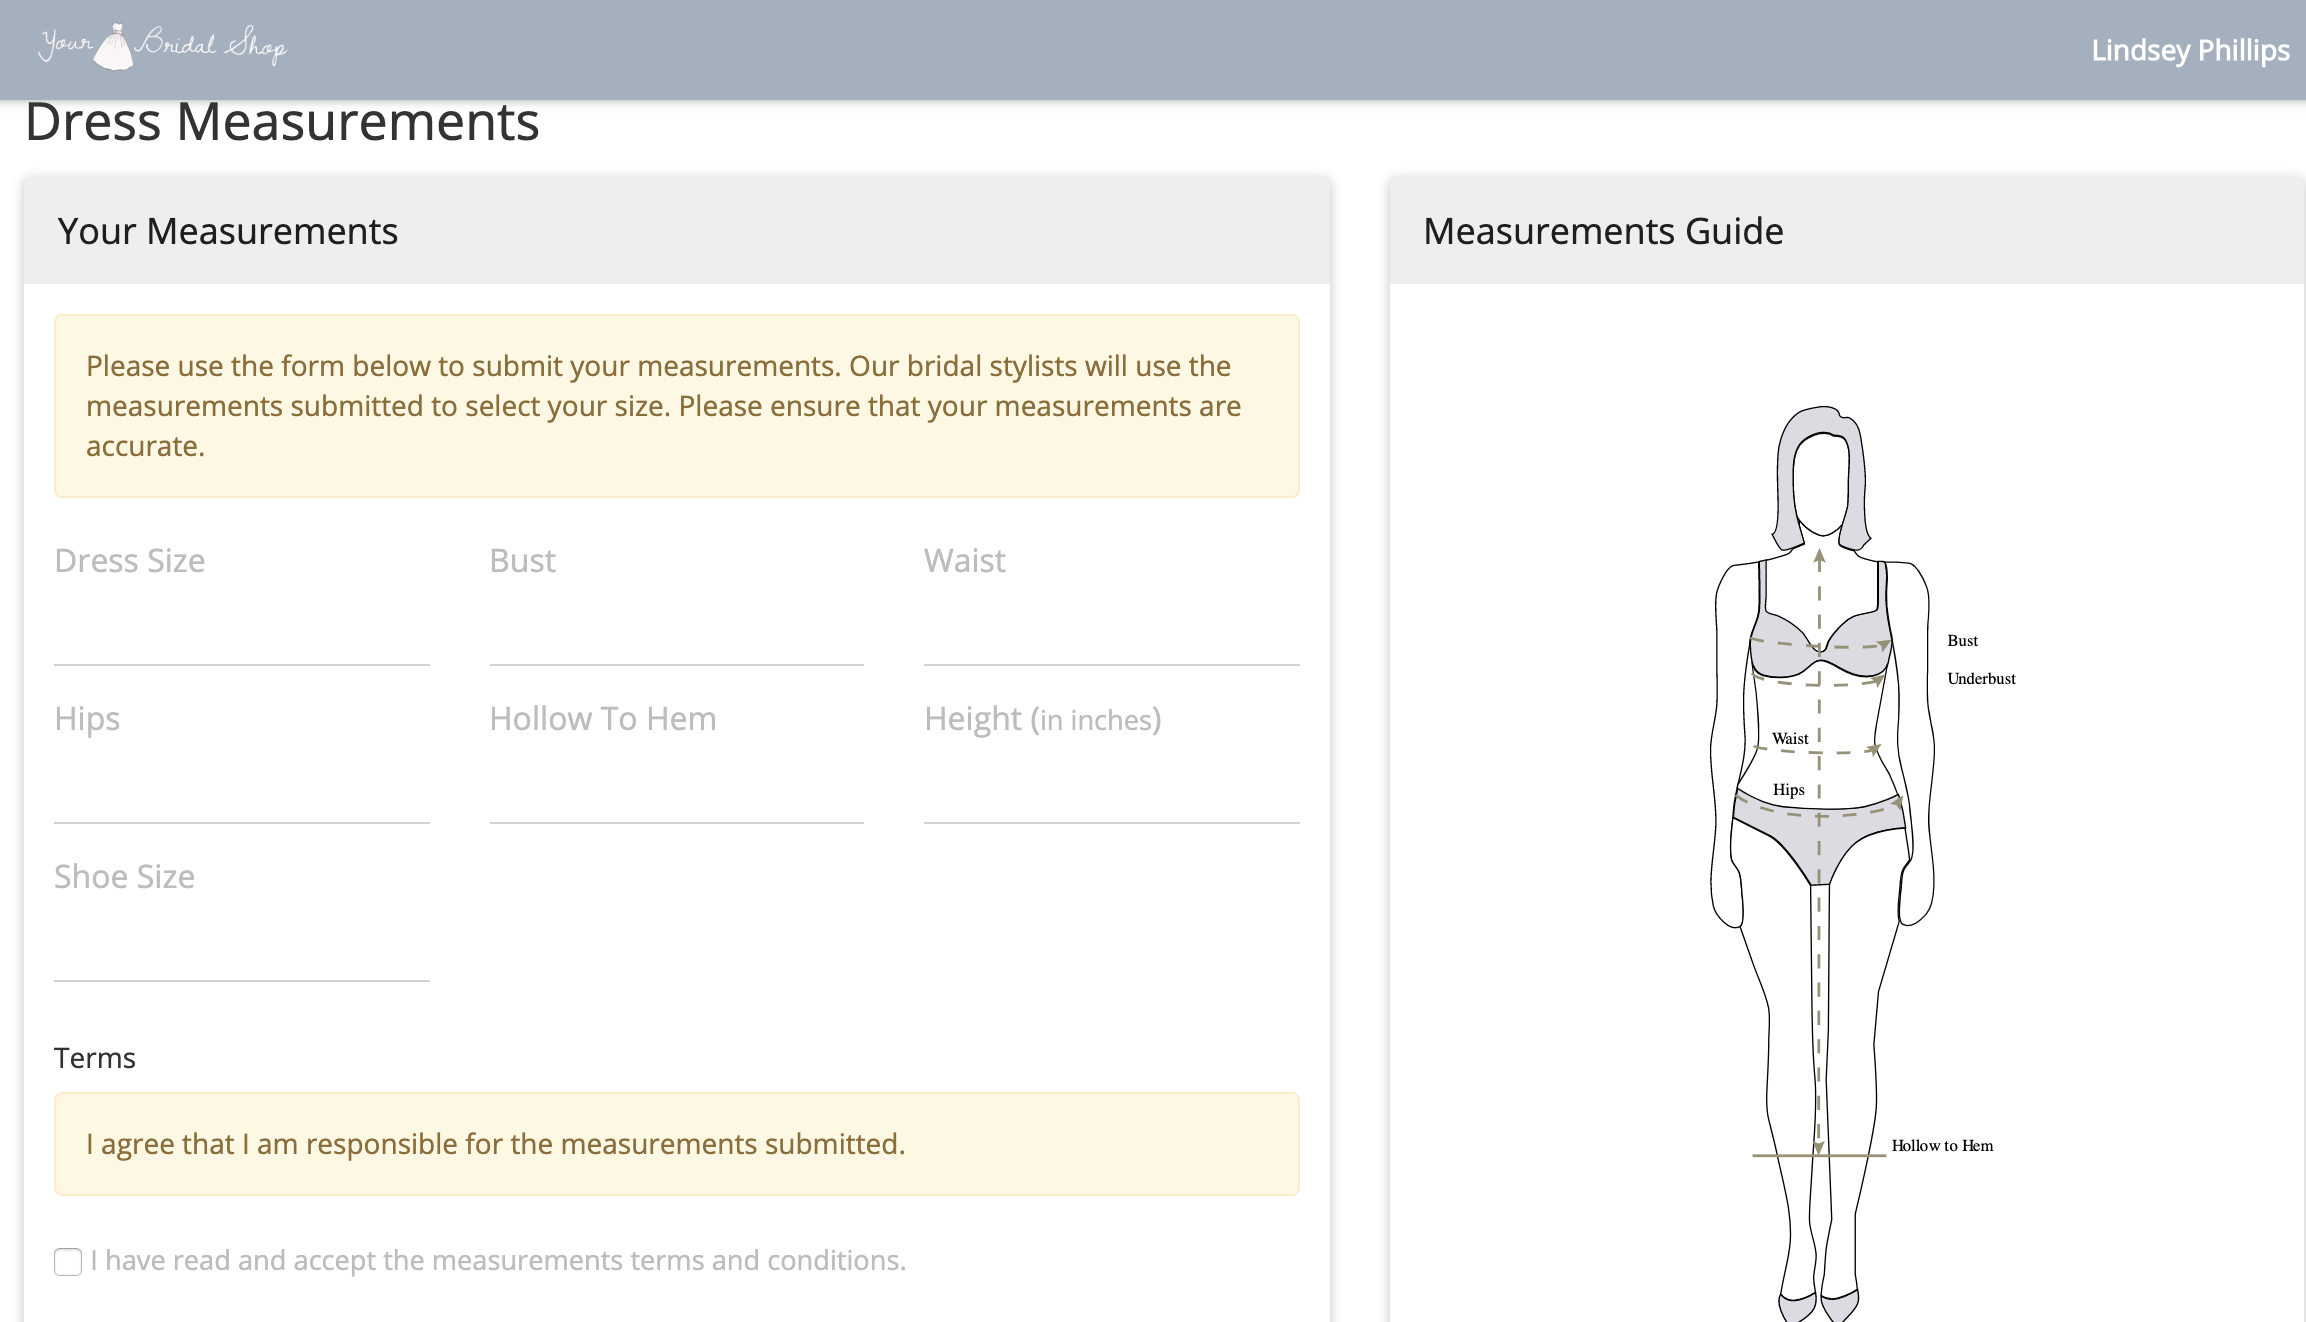
Measurements:
The measurements are of the Client Portal will allow the bride to enter their measurements, or it will display measurements entered in BridalLive from a Sales Consultant. You can have a measurement help text and a measurement agreement that the bride must check prior to submitting. You can hide the measurement guide, select a gender-neutral guide, or upload your own measurement guide.
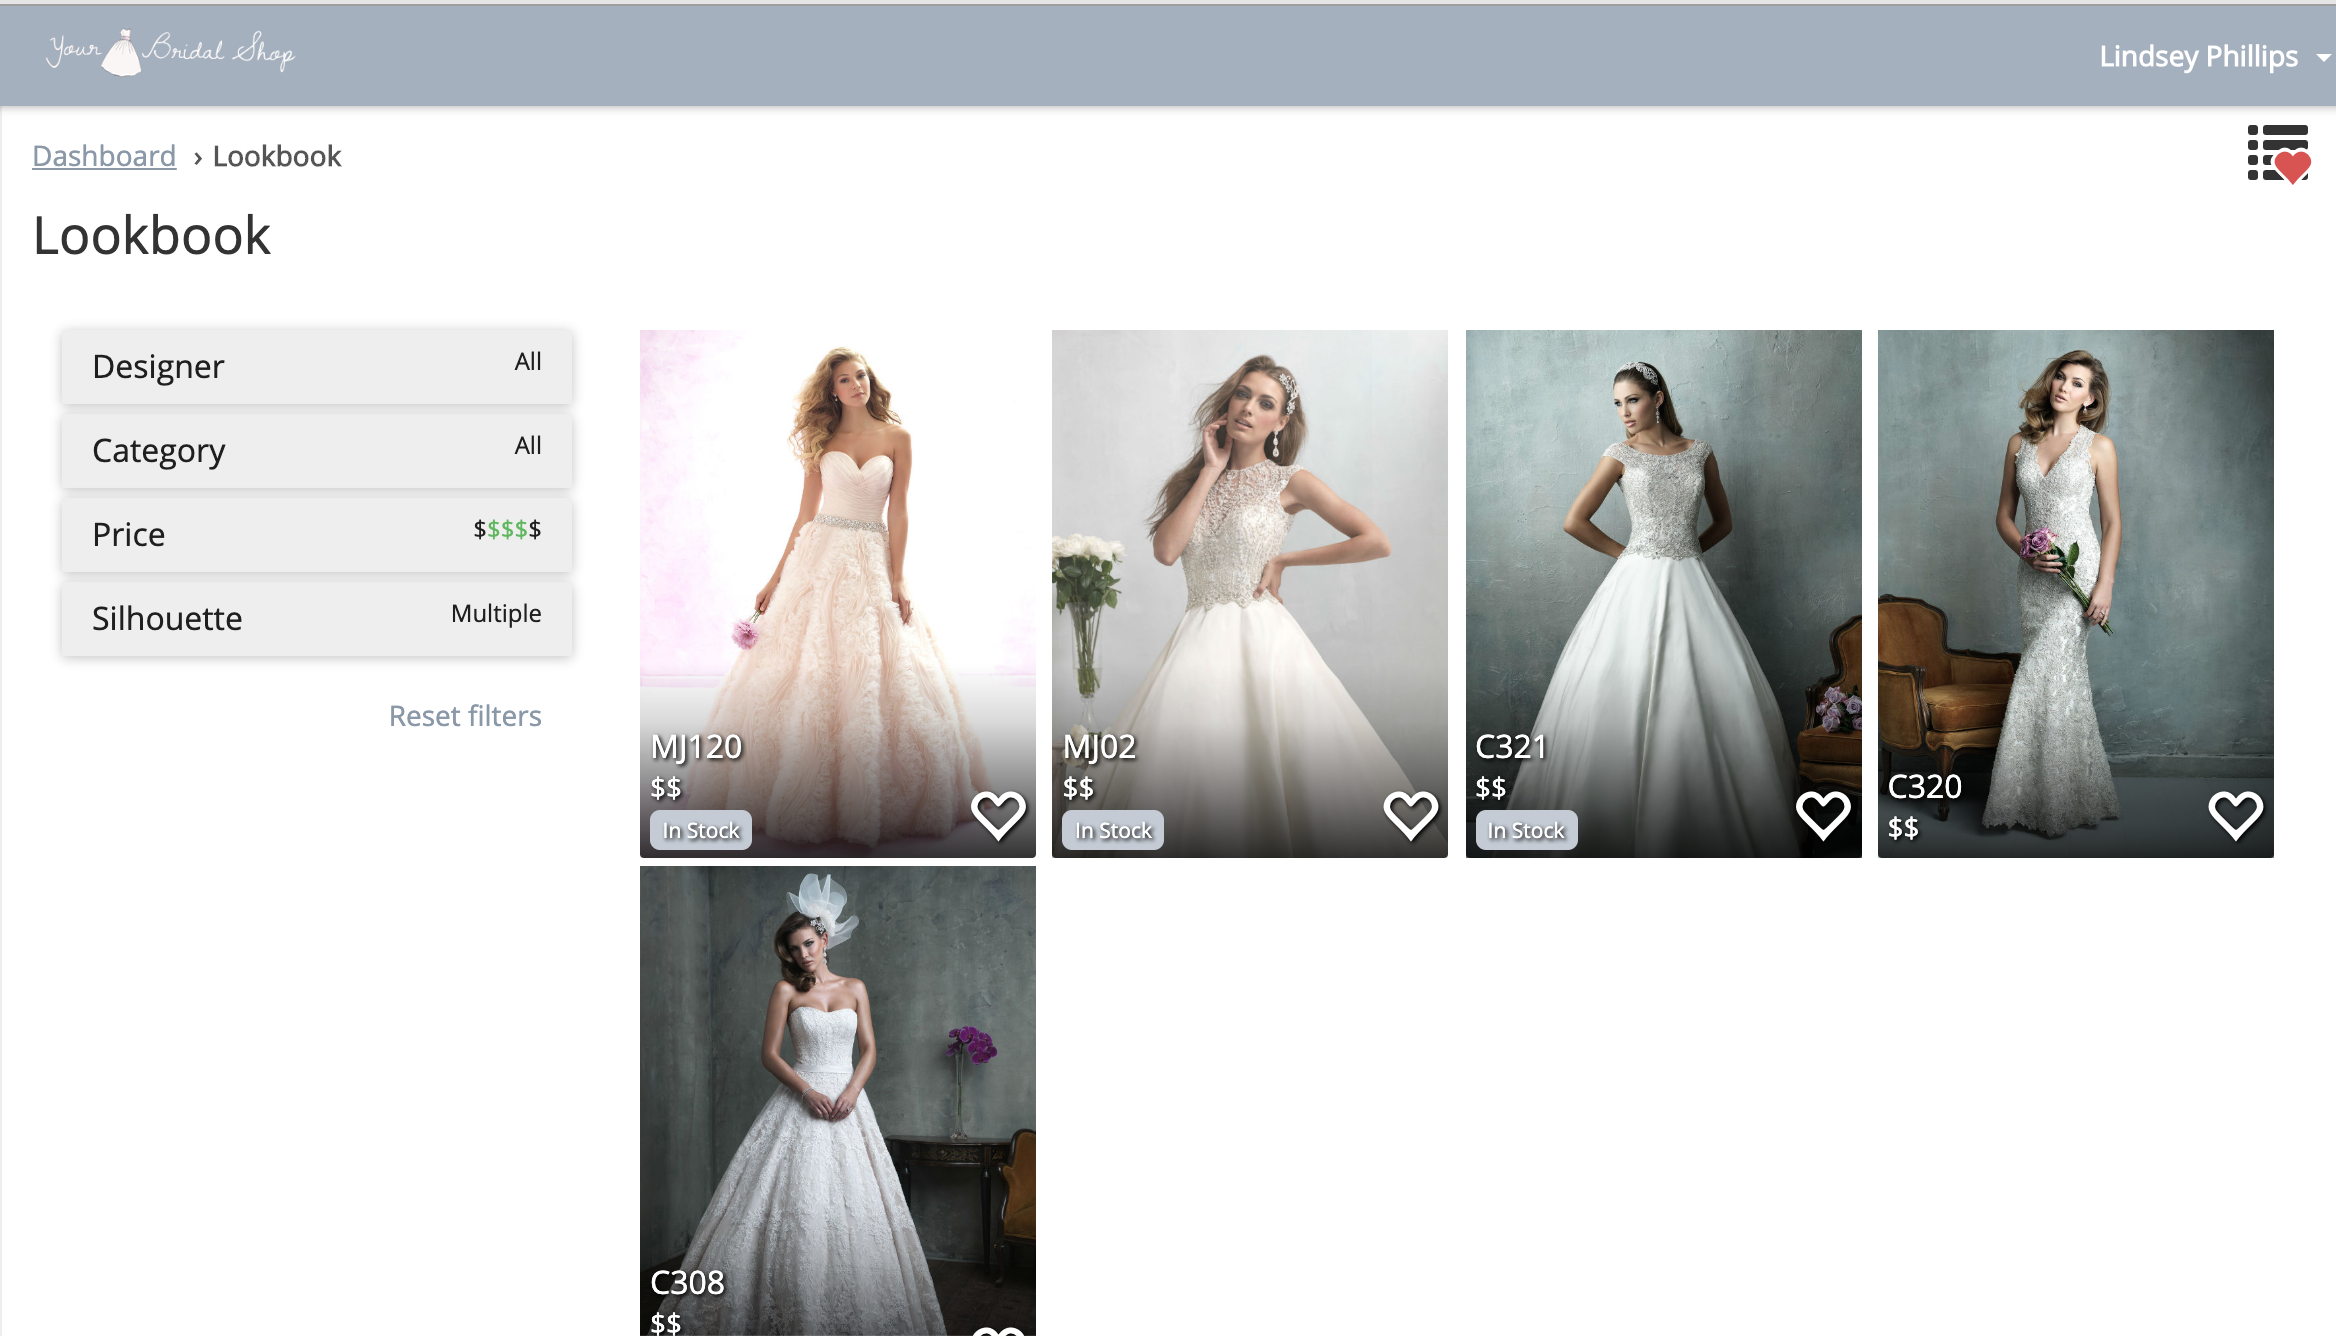
Lookbook:
Since showing your inventory to your customers can be sensitive, we have tons of settings to let you control and show only what you want to show to your customers, as well as hiding much of the data shown in the screenshot. The Lookbook has filters to allow the brides to narrow down their search results. They can search by Designer, Category, Price, and Silhouette. The Price filter can be actual price search with numbers, or it can be symbolic with the currency symbol (as depicted in the screenshot below).
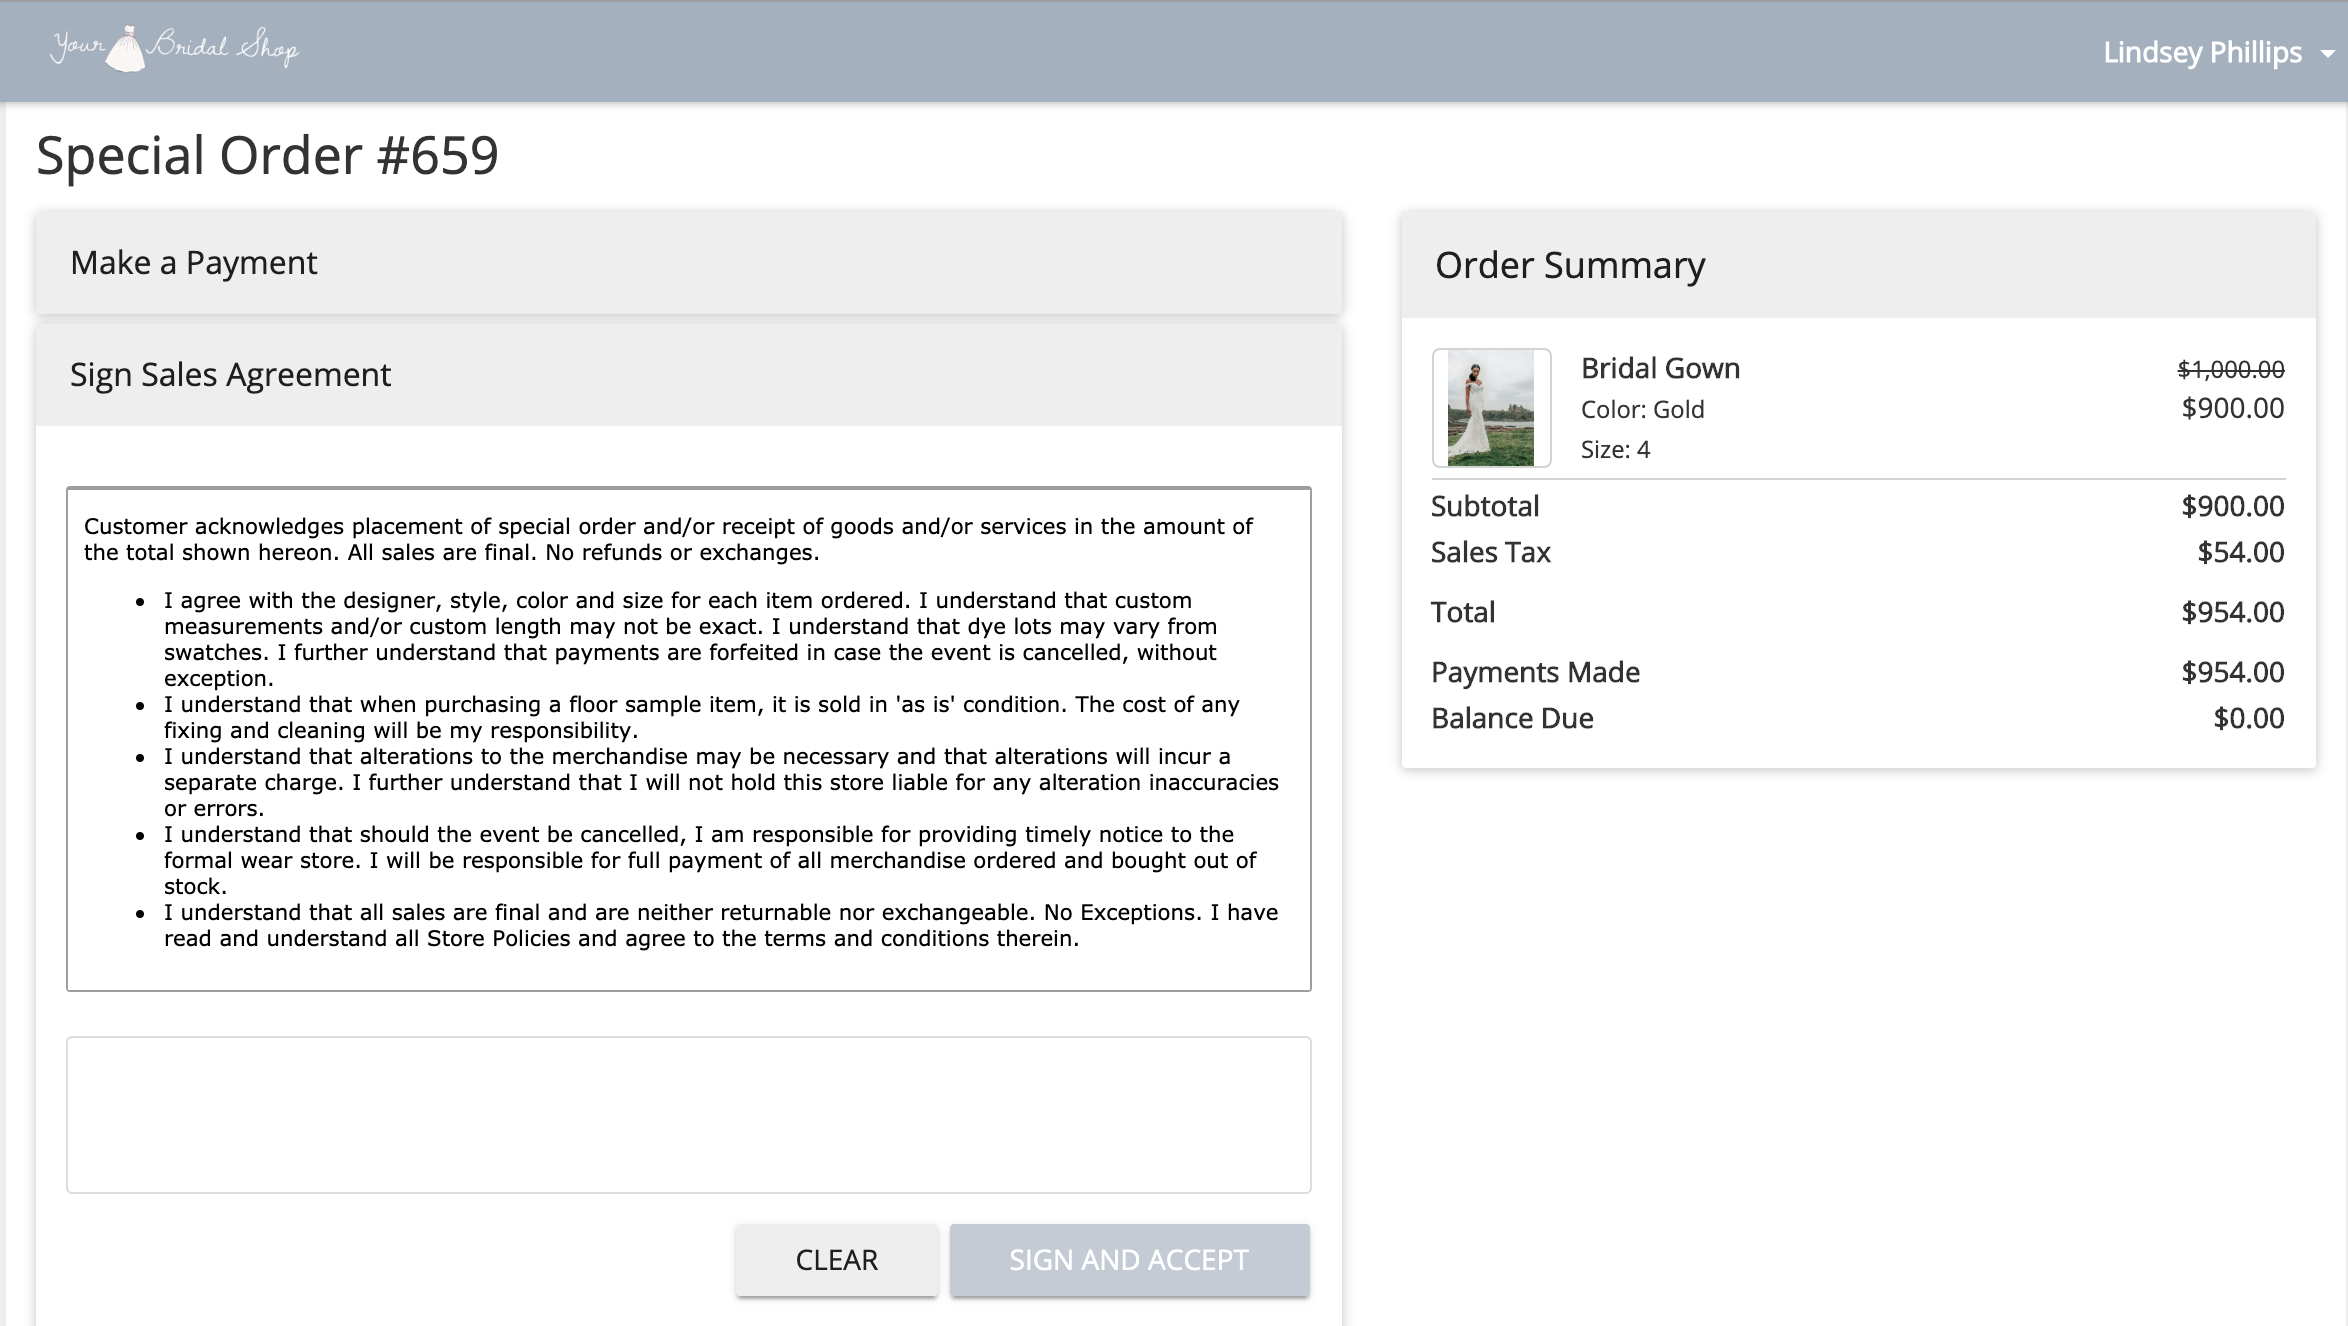
Requested Payment:
The bride can receive a request for a payment from the store via email or text message. The message will include a link to direct the customer to make a payment for a specific transaction. This link can also include a request to have the customer sign the sales agreement. The payment and signature will be applied to the specific transaction. The bride can then view her sales agreement signature under her order, as well as it can be printed or emailed by the Sales Consultant if needed.